How can we help?
-
Canon
-
Sharp
-
Konica Minolta
-
HP
-
Xerox
-
Brother
-
Toshiba
-
Kyocera
-
Client Onboarding
< All Topics
Print
How to set Sharp print defaults for Windows
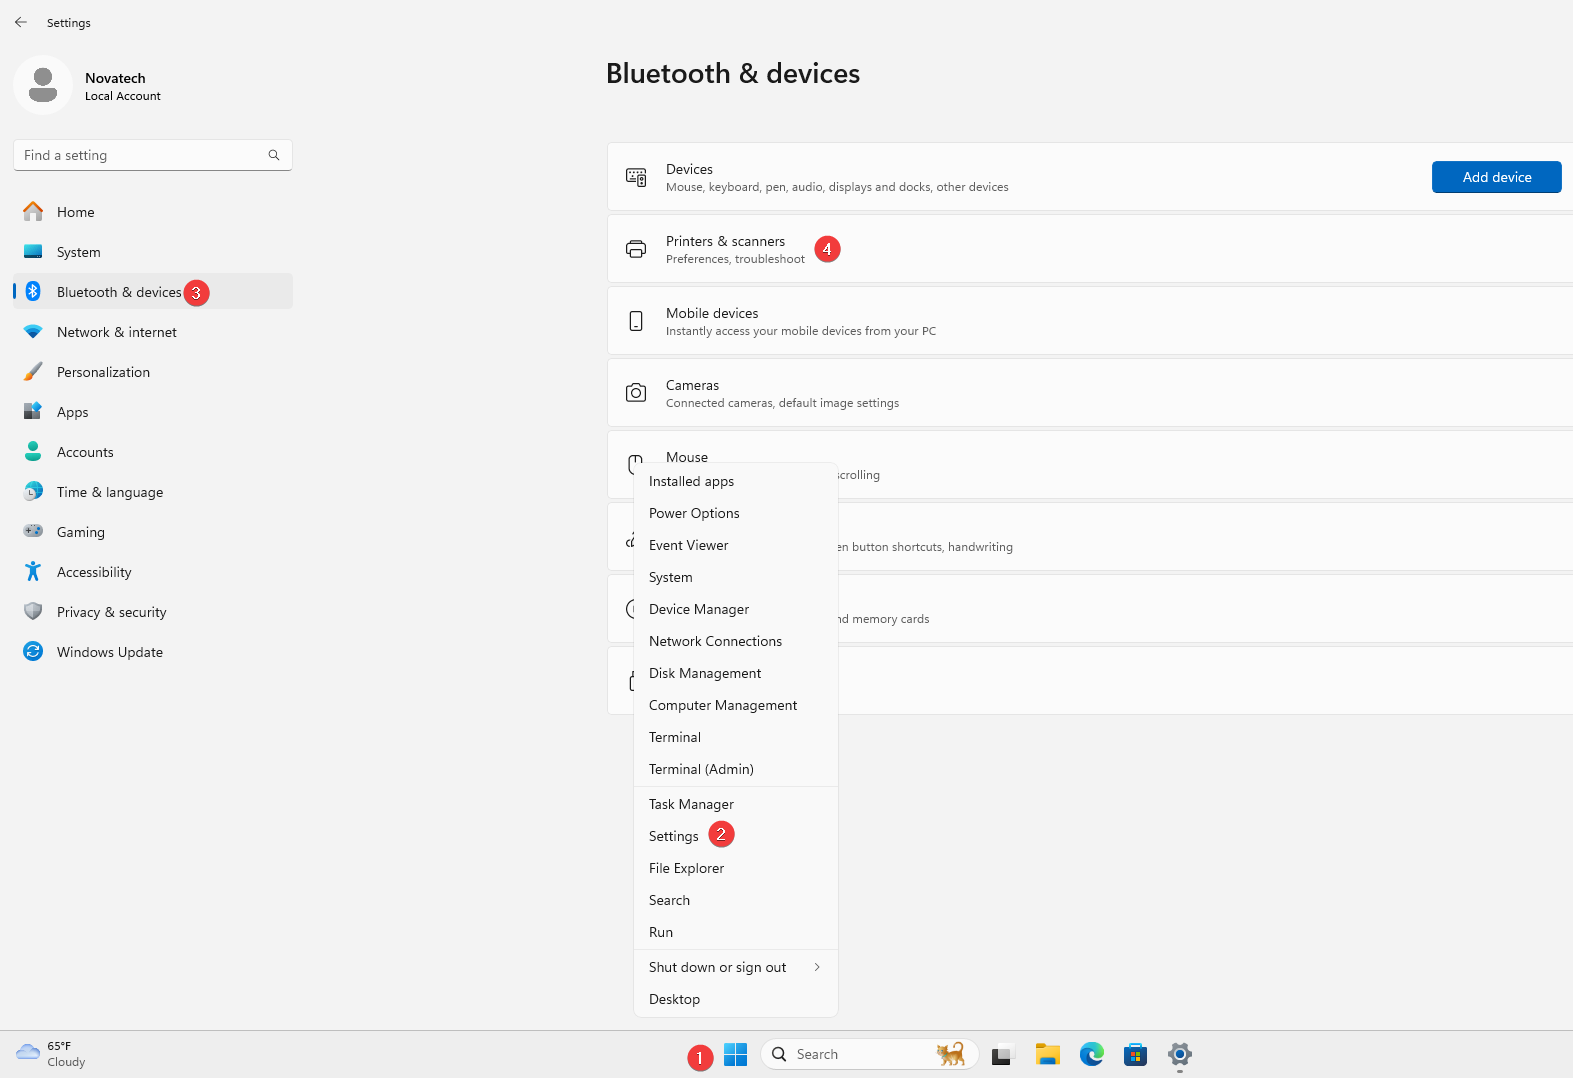
1. Right Click the Windows icon in the task bar and then select “Settings”. On the left select “Bluetooth & devices” and then select “Printers & scanners”.
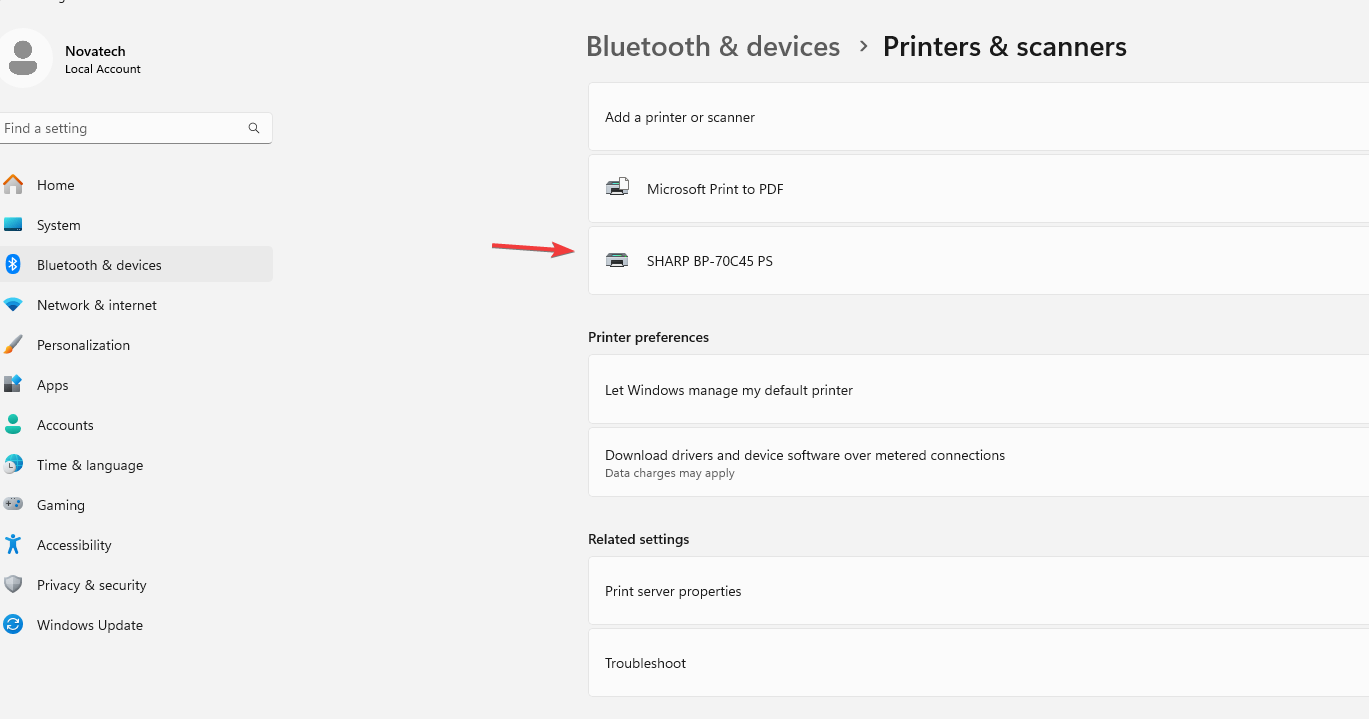
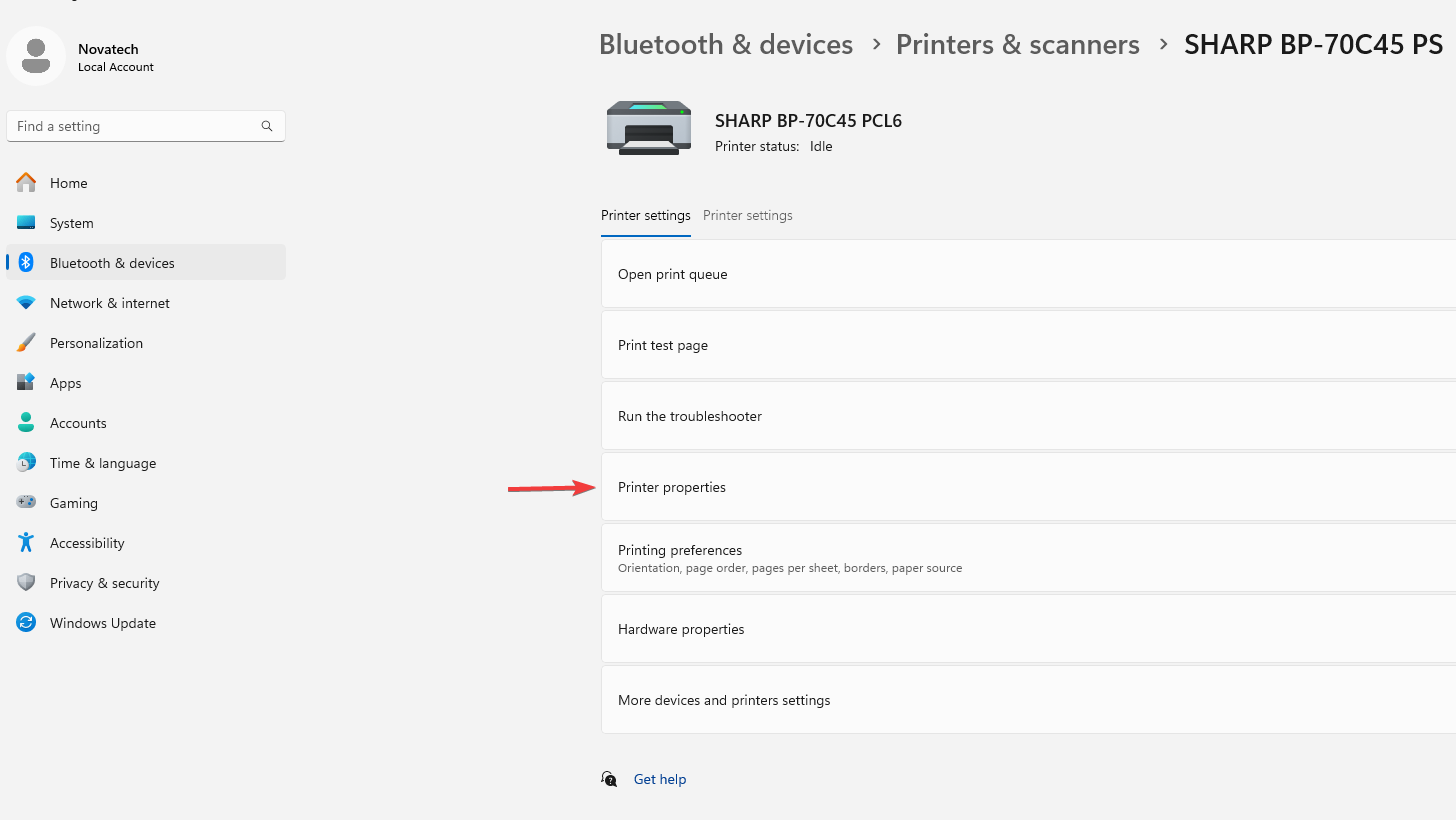
2. Select your printer from the list and then select “Printer Properties”.
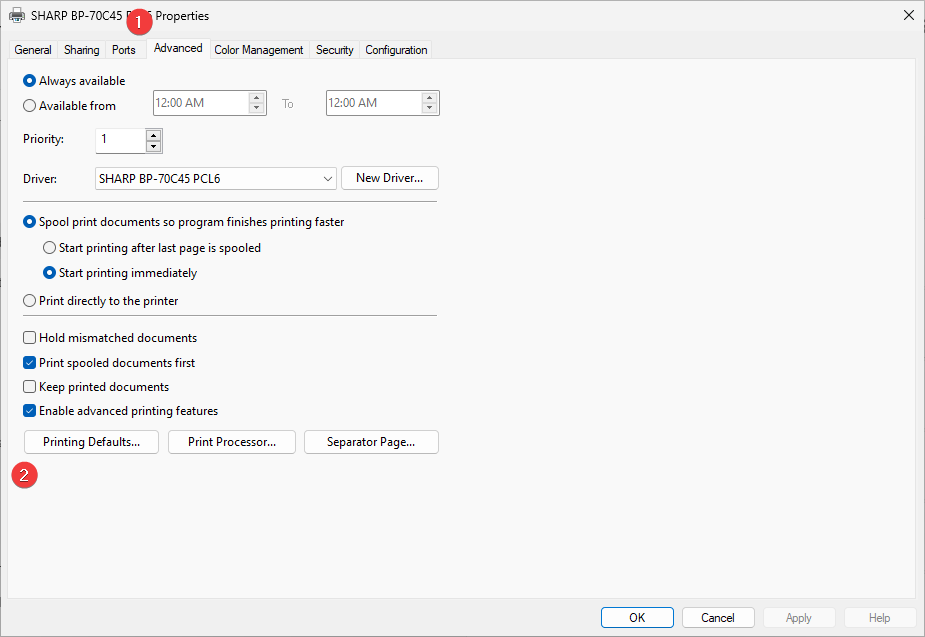
3. Select the “Advanced” tab at the top and then select “Printing Defaults”.
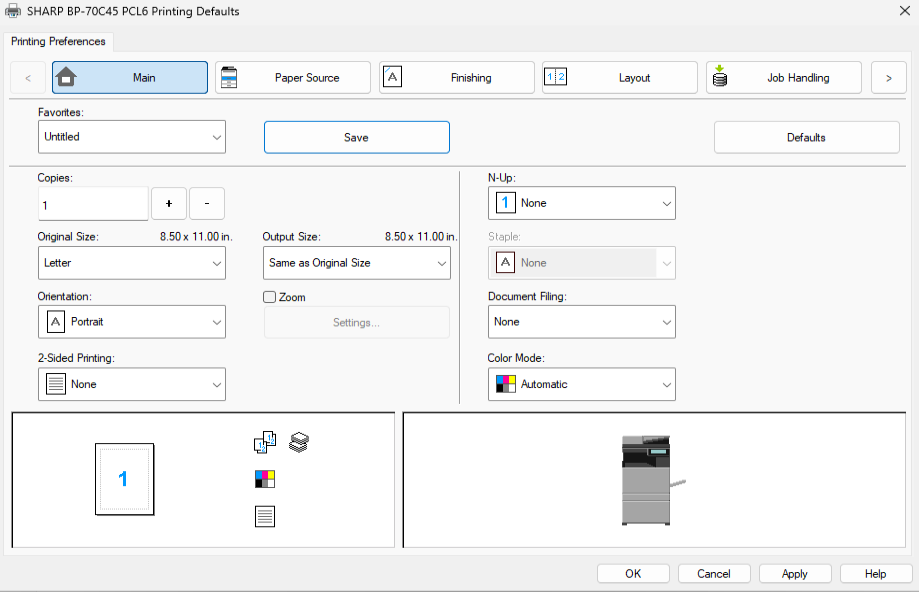
4. On the “Main” tab you can set most of the default settings you would like and if need you can go to the other tabs to select default options.
4a. If you have special prints you would like a different preset for you can choose the options you would like and then click the “Save” button and name it. This works well for people who do booklets or pamphlets and would like the options to be saved between prints.
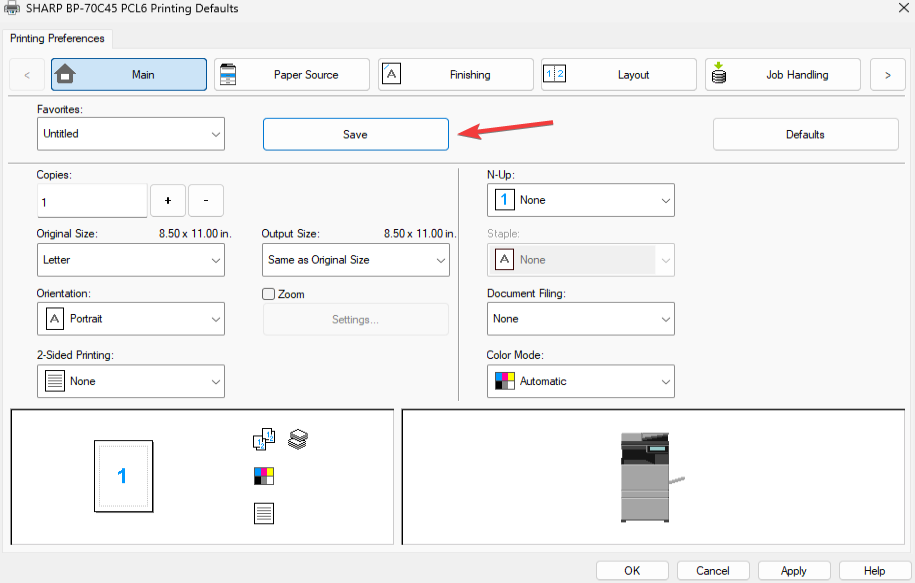
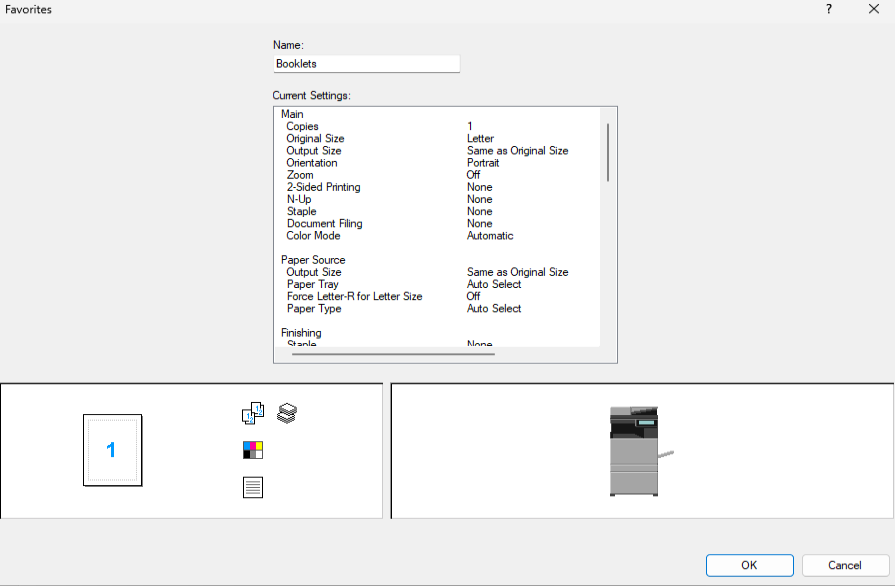
Table of Contents