How to Install a Canon Printer on Mac
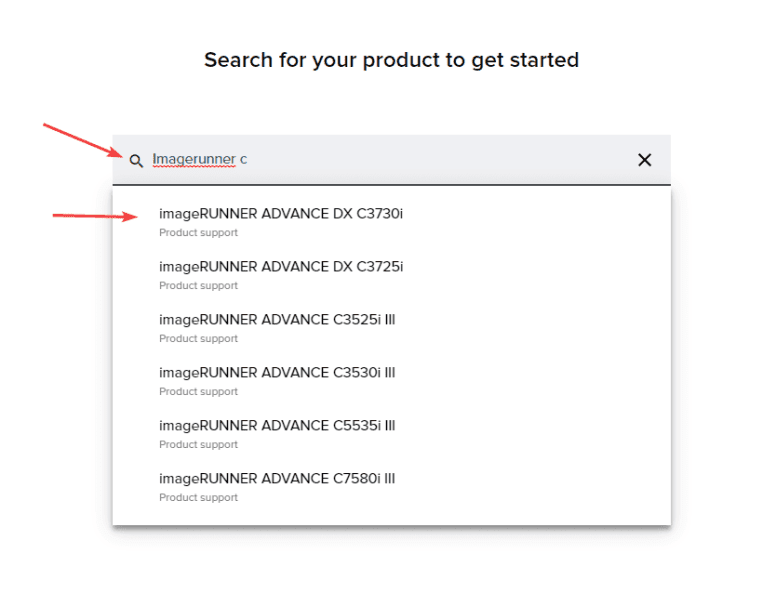
1. Navigate to the Canon support page, search for your printer model in the search bar and select it from the list of results.
2. Make sure the correct OS is selected and then find and download the “UFRII_V_Mac.zip” driver.

3. Open the “Finder” application and navigate to the “Downloads” folder and double-click the “UFRII” file.

4. Double-click “Installer.pkg” to run the installation.

5. Click through the installation and then at the end move the file to the trash.

6. Click the “Apple” icon at the top left of the screen and then click “System Settings”.

7. Double-click “Printers & Scanners”.

8. Follow the steps below:
8a. Click the Add Printer, Scanner or Fax

8b. Click the “Globe” icon at the top of the screen that says IP.

8c. Type in the IP address of the copier in the Address field.
8c.1. To get the IP address off the copier, go to the physical device and press the “123” or “Check Counter” button and it will be listed in the top of the screen. If no IP address is visible use our Find Your IP Address guide.
8d. Drop the “Protocol” section down to “Line Printer Daemon”.
8e. In the Queue field give the copier your desired Name.
8f. Click the dropdown and click “Select Software”.
8g. Type in the model of the printer and then select it from the list.
8h. Click “OK”.
8i. Click “Add”. If you get a popup for adding accessories choose the paper trays and accessories that are on your device.
9. If you need a code to print to the copier, you will need to follow our Department ID guide for MAC.