
How can we help?
-
Canon
-
Sharp
-
Konica Minolta
-
HP
-
Xerox
-
Brother
-
Toshiba
-
Kyocera
-
Client Onboarding
< All Topics
Print
How to Install Xerox Printer on Mac
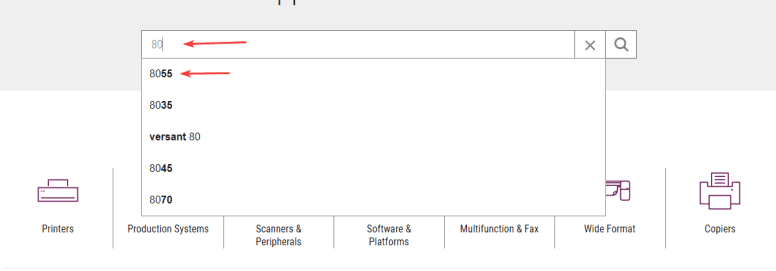
1. Navigate to the Xerox support page.
2. Type the model of your printer and select it from the list of results.
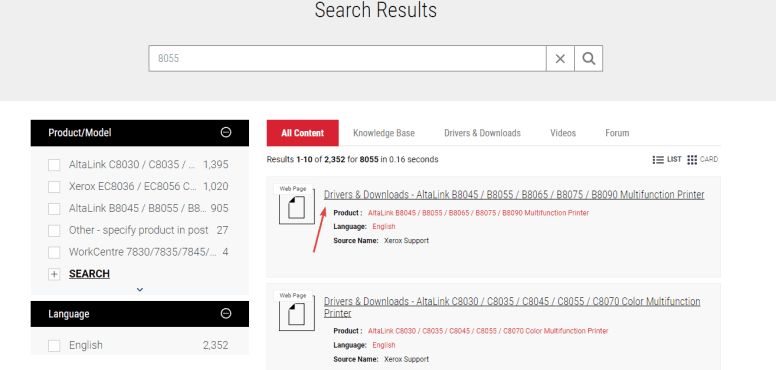
3. Find the “Drivers & Downloads” option in the list and click it.
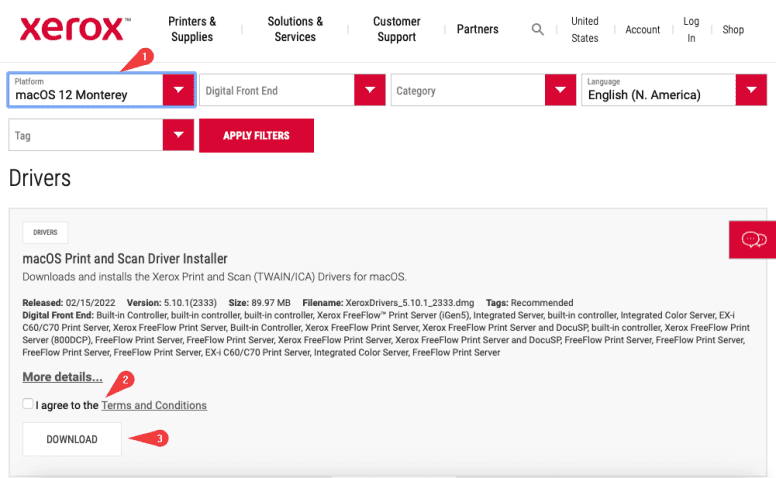
4. Make sure the correct operating system is selected and then check the box and click “Download” on the “MacOS Print and Scan Driver Installer”.
5. In the dock at the bottom of your screen find the downloads section, click it and then click the Xerox file.

6. Double-click the file to run the installer.

7. Click “Allow” on the pop-up box.

8. Click through the installation until you get to the part where you select the printer. If your printer is automatically discovered in the list, click it and then click continue. If you don’t see your printer, you can click the second button and manually type in the IP address of the printer to find it.
8a. To find the IP address of the copier, go to the device and press the “Machine Status” button and it is under machine information. On other models, you will need to press the “Device” button on the main screen and then “About”.

9. Once you have clicked through the installer window and reached the end, you can click “Close” and try to print a page to the copier. If you have to use a code to print and/or copy to the device, you will need to follow this guide.

Table of Contents