How can we help?
-
Canon
-
Sharp
-
Konica Minolta
-
HP
-
Xerox
-
Brother
-
Toshiba
-
Kyocera
-
Client Onboarding
< All Topics
Print
How to Install a Xerox Printer on Windows
1. Navigate to the Xerox support page.
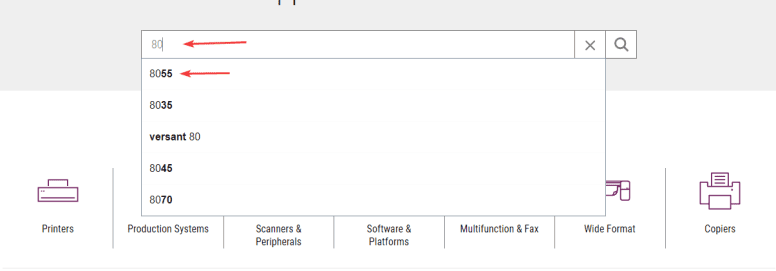
2. Type the model of your printer and select it from the list of results.
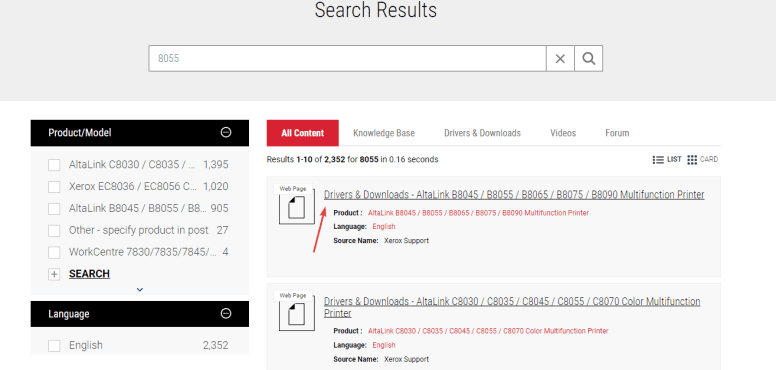
3. Find the “Drivers & Downloads” option in the list and click it.
4. Scroll to find the “Xerox Smart Start – Driver Installer”, check the terms and agreement box and then click “Download”.

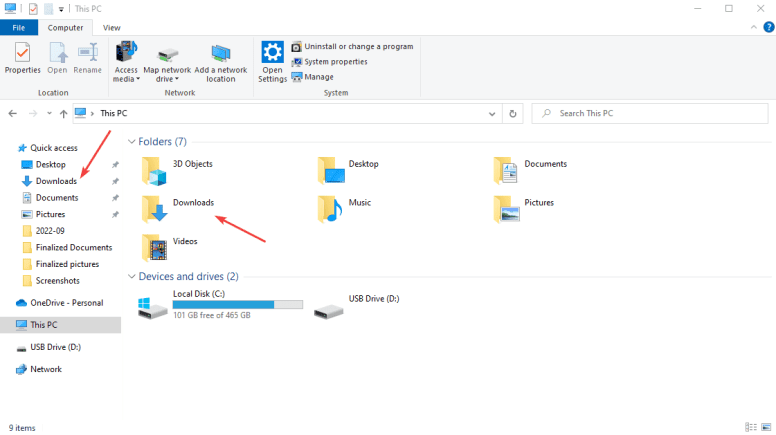
5. Open the “File Explorer” program.

6. Find and open the “Downloads” folder.
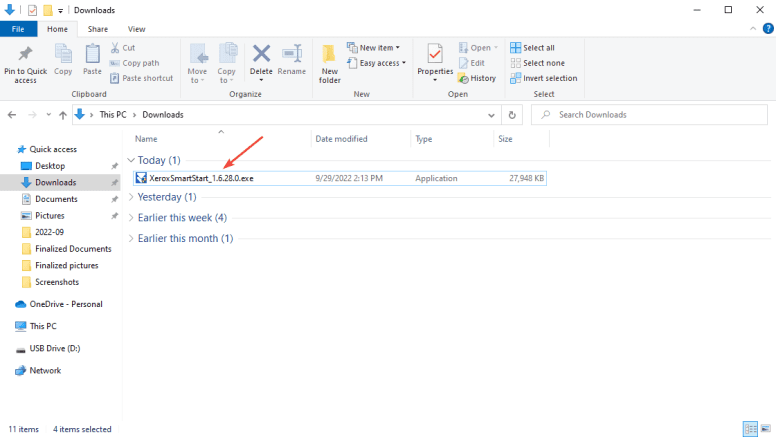
7. Find the file that you downloaded and double-click to launch it.
7a. If you get a pop-up asking for a username and password, you will either need the administrator credentials or contact your IT for further assistance.
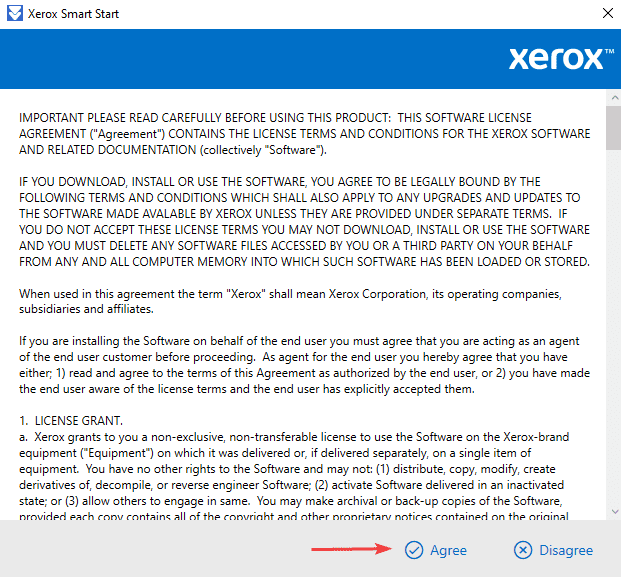
8. Click “Agree”.
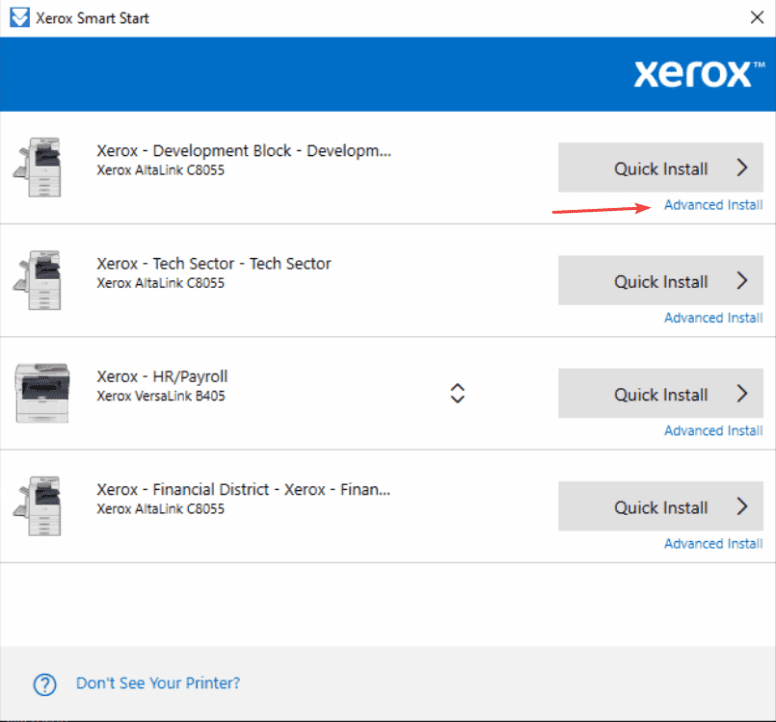
9. Find your printer in the list and click the “Advanced Installation” option.
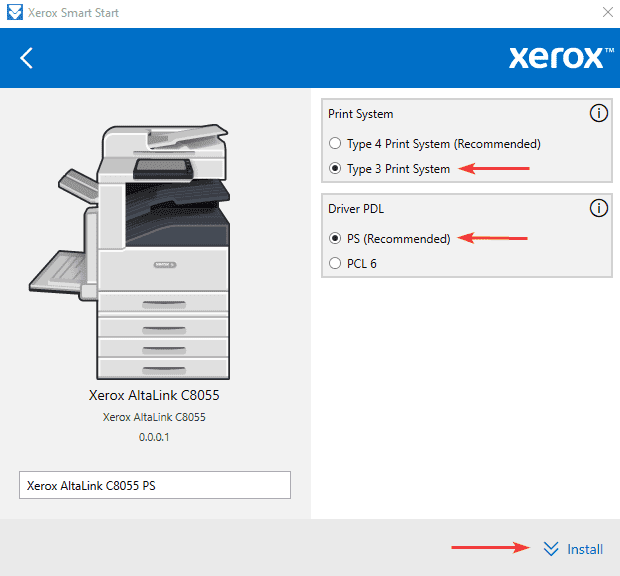
10. Select the “Type 3 Printer System” and the “PS” driver and then click “Install”.
11. Once the installation is finished, you can click “Done”. If you have to use a code to print and/or copy to the device, you will need to follow this guide.
Table of Contents