How can we help?
How to Setup Kyocera on Network
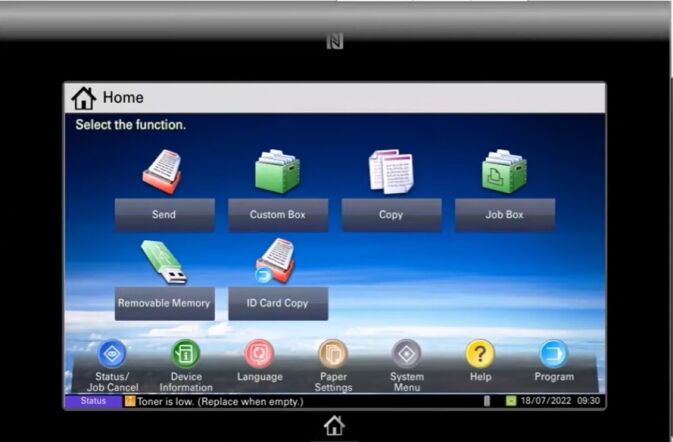
1. At the Operator Panel select System Menu.
2. Select the Down Arrow.

3. Select System/Network.

4. Login using the Administrator Credentials. Typically they are Username: “Admin” Password: “Admin”. Reach out to your I.T. or service provider if the default login does not work correctly.

5. Select the Network Button.

6. Select Wired Network Settings Button.

7. Select TCP/IP Settings.

8. Select the IPv4 Button.

9. Select DHCP and set it to On. set Auto-IP to On and Set DNS Server to Auto. After making your selections touch Ok.

10. Shut the power switch off on the machine and wait ten seconds. Turn it back on and allow the machine to boot back up. Touch Device Information.

11. The current IP Address will be displayed on the Operation Panel.

12. Go back to step one and get back into the IPv4 settings. Set DHCP to off, and DNS to Manual.
13. If you already have the print driver installed on your computer you will need to point it to the new IP address. If you have a MAC computer you will need to reinstall the driver using the How to install a Kyocera Printer on MAC guide. On Windows 11 you will use the Search option on your taskbar to open Printers and Scanners. Find your printer and click on it.

14. Choose Printer Properties and go to the Ports tab.


15. Click Add Port. Choose Standard TCP/IP Port and click New Port. It will start a Wizard.


16. Click Next. In the Printer name or IP address type in the newly acquired IP address of your machine and click Next. Continue through the wizard until you can choose Finish.


17. It will go back to the Printer ports box. Click Close then Click Apply in the lower right corner. The printer will be pointed to the new IP address.

