How to Setup Scan to E-mail on Brother
1. Go to the printer and find the IP address and write it down. Most Brother MFPs will have the IP address displayed in the upper or lower right hand corner of the screen. If it is not shown on the screen touch  then choose Print Reports. Choose Configuration page. The IPv4 address should be listed.
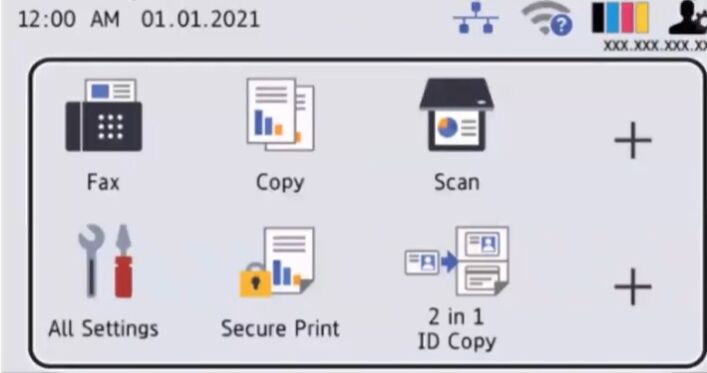
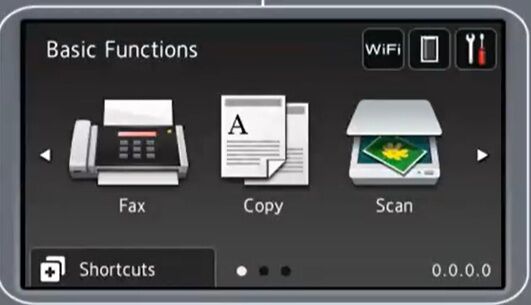
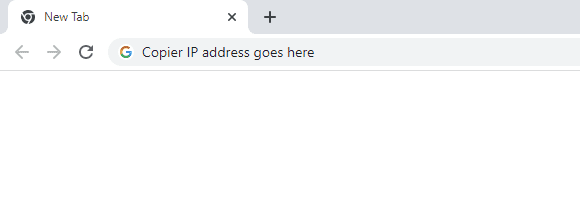
2. Type the IP address of the copier into a new tab in your web browser at the top of the screen, not the search bar, and hit enter.
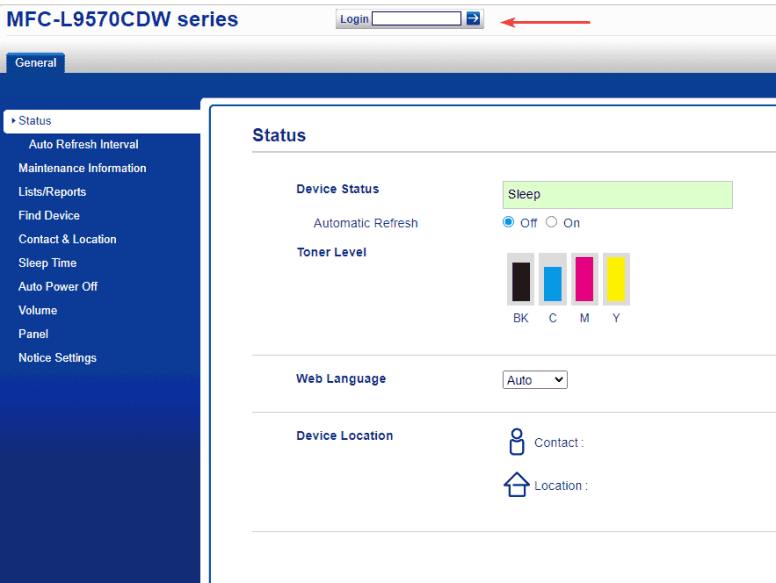
3. At the top of the page, type the password into the login section and hit the arrow or hit enter to complete login.
3a. The default password is “initpass”. On some models, there is a sticker on the back of the copier with a “PWD” label.
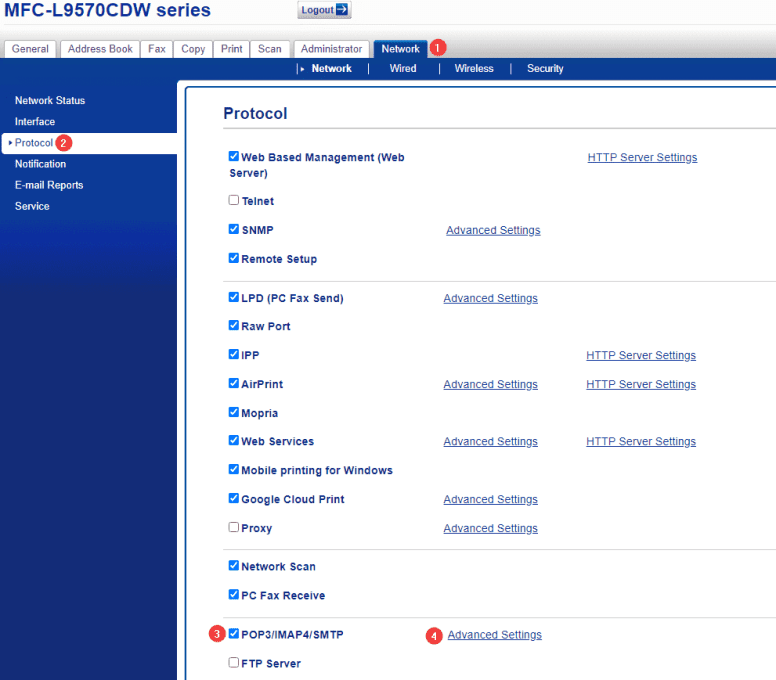
4. At the top of the screen, click the “Network” tab and then click “Protocol” in the left-hand column. At the bottom of the screen make sure there is a checkmark in the “POP3/IMAP4/SMTP” box and then click “Advanced Settings”.
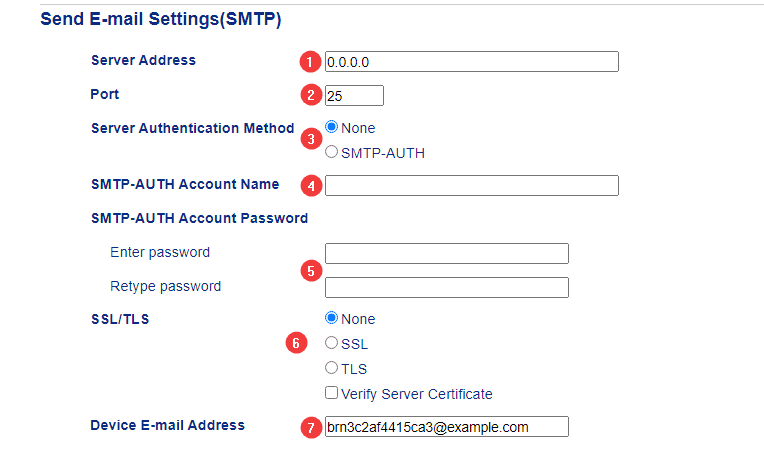
5. Follow the steps below and then when finished click submit at the top of the screen. If you don’t know the settings for your email server, you can reference the chart below or contact your IT department or email provider.

5a. Input the SMTP server address.
5b. Input the correct server port number.
5c. If your server requires authentication, tick the “SMTP-AUTH” bubble, otherwise leave it on “None”.
5d. This will be the email address you use to authenticate with the server.
5e. This is the password for the email address you used in step 4.
5f. If your server requires any SSL/TLS select the correct option.
5g. This is the email address that the scans will be coming from when you receive them.
