How can we help?
-
Canon
-
Sharp
-
Konica Minolta
-
HP
-
Xerox
-
Brother
-
Toshiba
-
Kyocera
-
Client Onboarding
< All Topics
Print
How to Set Canon Department ID on Mac
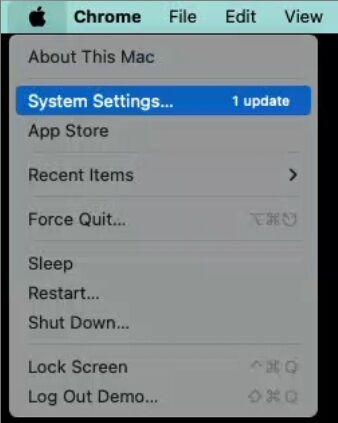
1. Click the “Apple” icon at the top left and click “System Settings”.
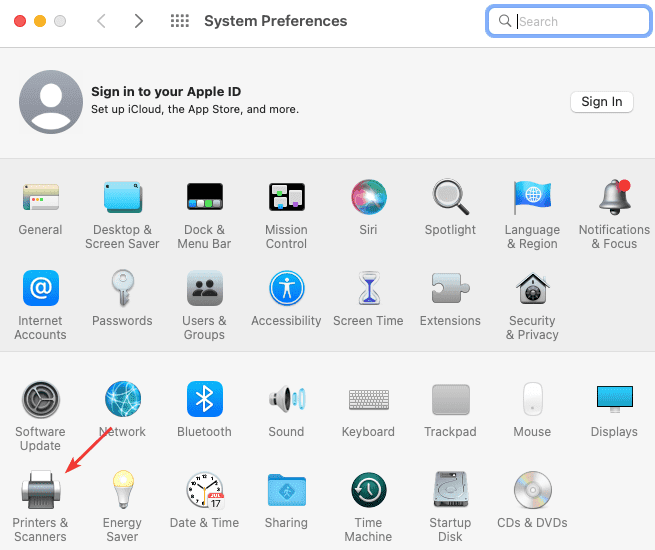
2. Double-click “Printers & Scanners”.
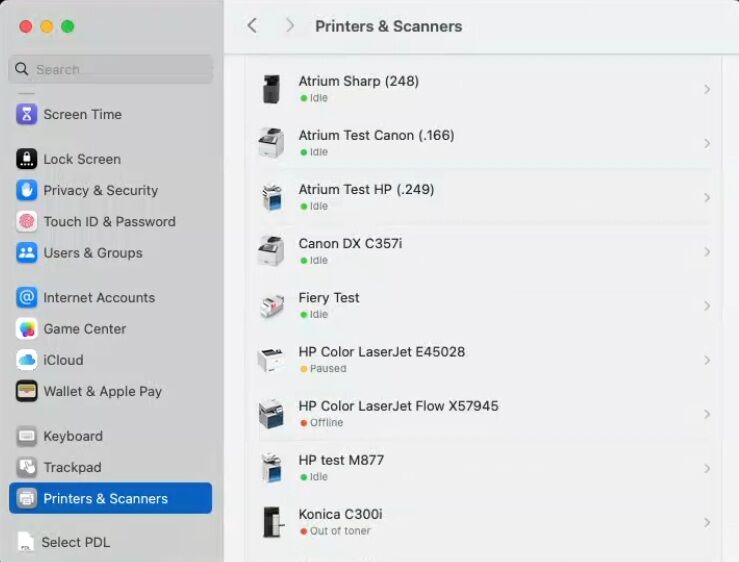
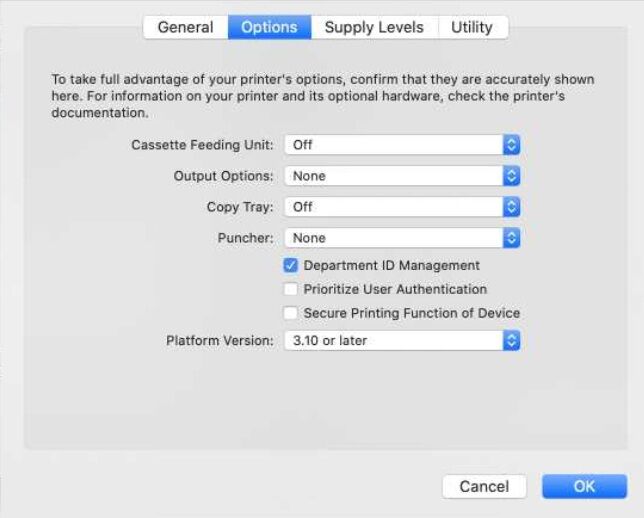
3. Find the Canon printer in the list and click it, then click “Options & Supplies”. Under Options check the box next to Department ID Management.
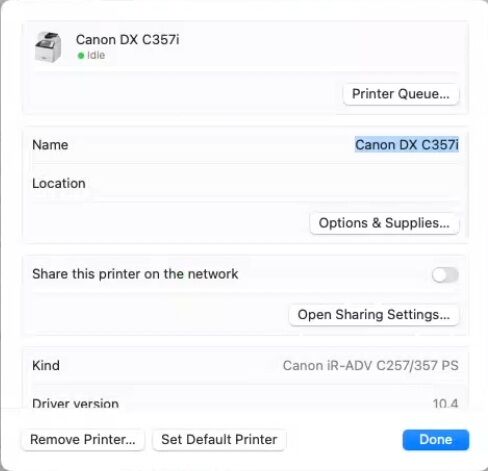
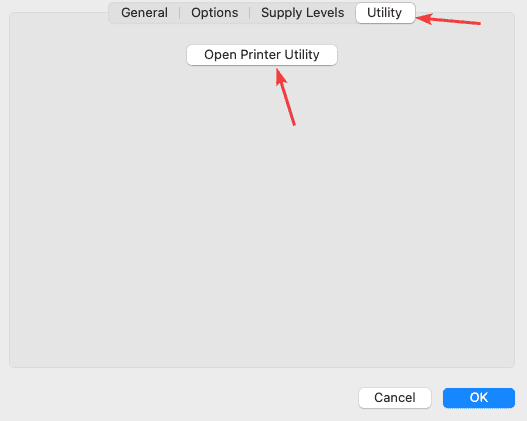
4. Click the “Utility” tab and then click “Open Printer Utility”.
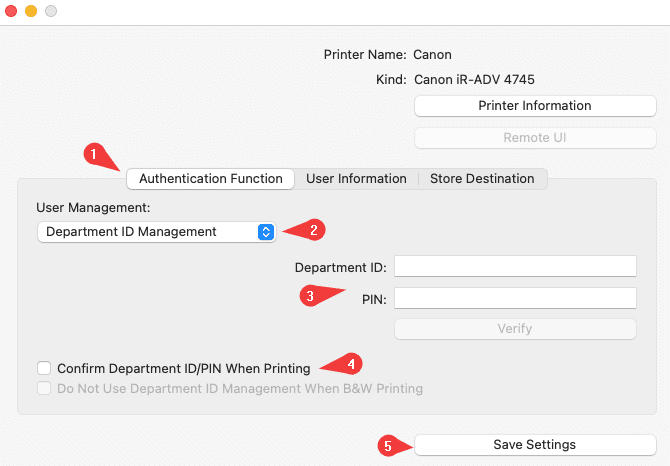
5. Fill out the information and click “Save Settings” when done.
5a. Make sure you are on the Authentication Function Tab
5b. Drop this down to the ” Department ID Management” option.
5c. Fill out the “Department ID” and “PIN” if your company is using pins.
5d. Check this box if you want a confirmation pop-up for each print job.
5e. Click “Save Settings” to complete the setup and then click the red x at the top of the window to close out.
6. Click “OK”. The setup is now complete.
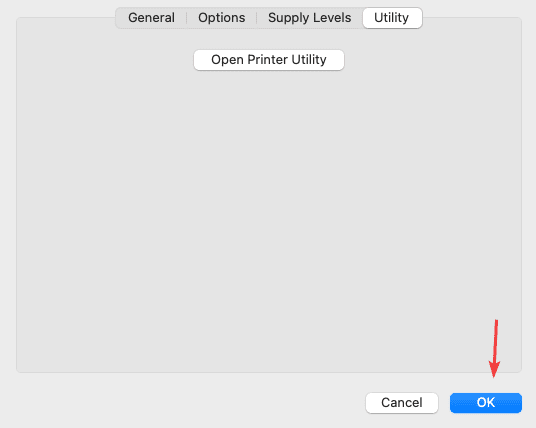
Table of Contents