How can we help?
-
Canon
-
Sharp
-
Konica Minolta
-
HP
-
Xerox
-
Brother
-
Toshiba
-
Kyocera
-
Client Onboarding
< All Topics
Print
How to Setup Kyocera Copier with Scan to Email
1. At the Device Operation Panel press the Device Information button typically in the lower left.

2. The IP Address will be displayed on Operation Panel.
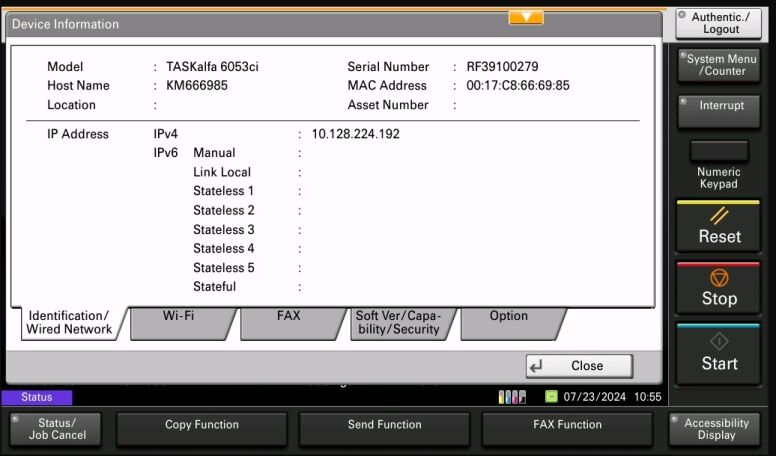
3. On your computer open a new internet browser tab and type the IP address you got from the copier into the website address field and press enter.
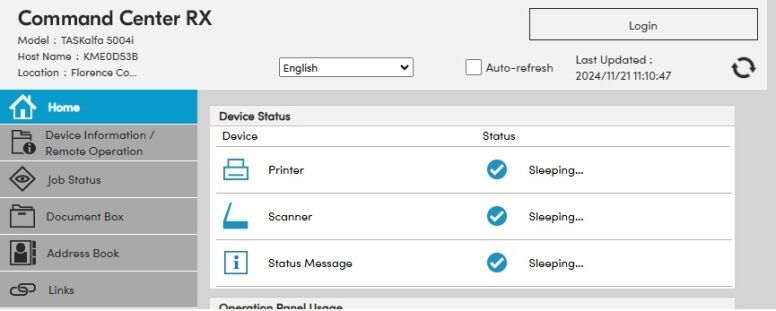
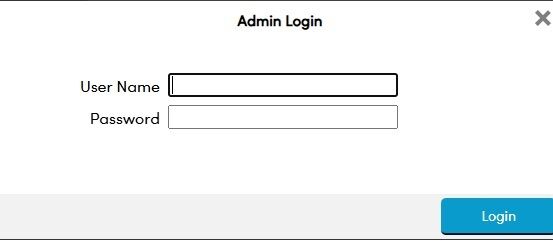
4. Click the Login button typically in the upper right hand corner. The Username and Password should both be Admin. Click Login again.
5. Go to Function and then Email.
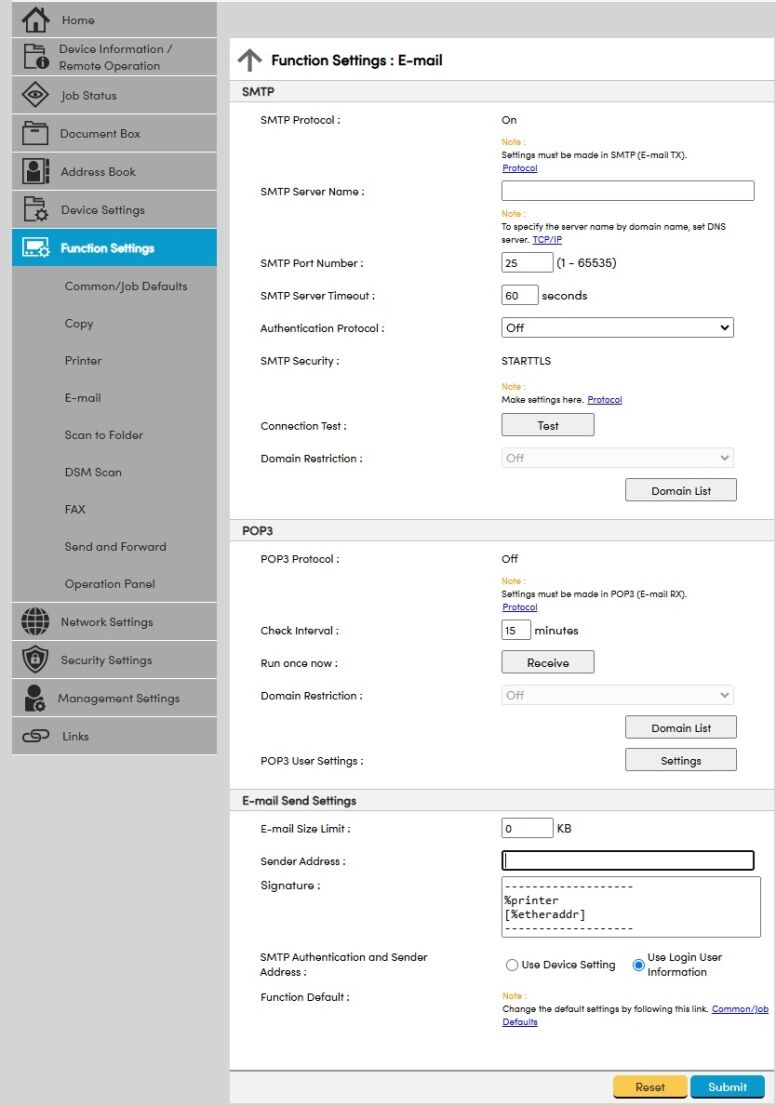
6. Follow the steps below to complete the scan to email setup. Listed below are the SMTP settings for a few of the major email providers. If you don’t have this information, you may need to reach out to your IT department or whoever supplies your email accounts.
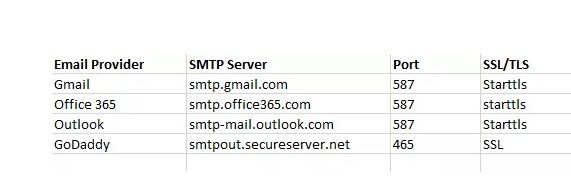
7. Enter your SMTP server, Port Number, and adjust the timeout settings if necessary. Most mail servers will need authentication. Change the Authentication Protocol to On if necessary and set Authentication as to Other. Enter your email account as the Username and the Password. Keep in mind mail providers like Gmail use an App Password for the Password field which will be covered in another guide.
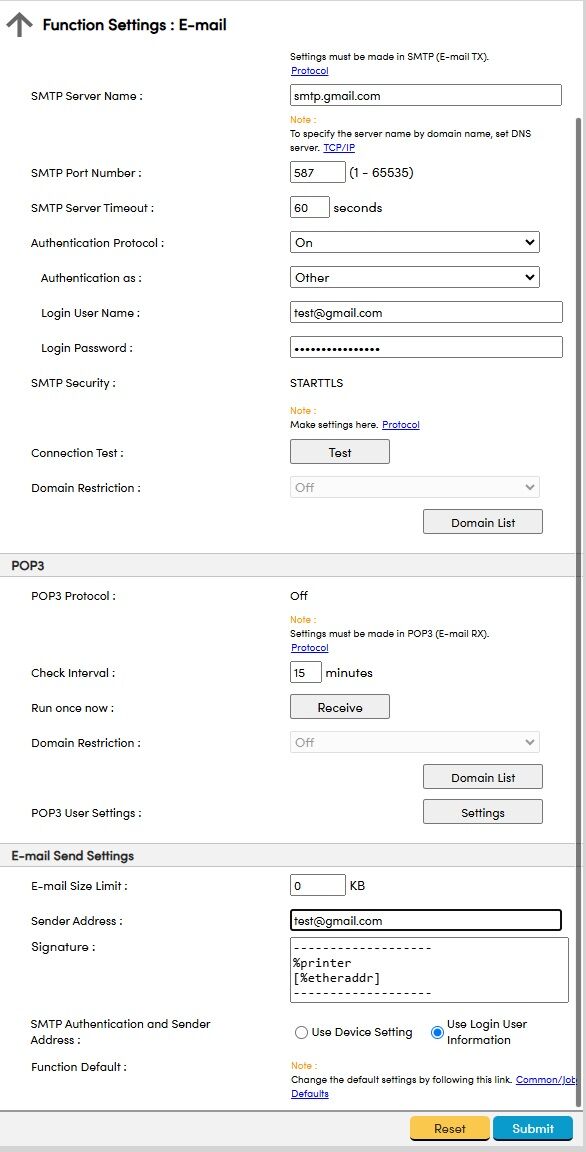
8. You can use the test button in the mail server settings area to see if the machine communicates properly with your settings.
Table of Contents