
How to Setup Dept ID Accounting on Canon
1. Go to the physical machine and press the “123” or “Check Counter” button and then find the IP address in the top corner of the screen and write it down. If the IP address is not displayed user our Canon Find your IP Address guide.
2. On your computer, open a new browser tab and type the IP address of the copier into the address bar, and hit enter.

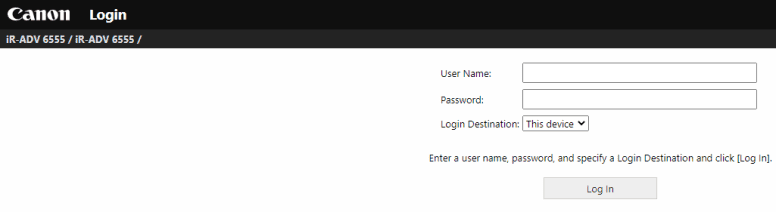
3. log in to the copier webpage.
3a. The “Manager/Dept ID” will be “7654321” and the pin will be “1234567” or “7654321”.
3b. If you have a Username/Password instead, then the “Username” is “Administrator” and the password is blank or it is “1234567” or “7654321”.
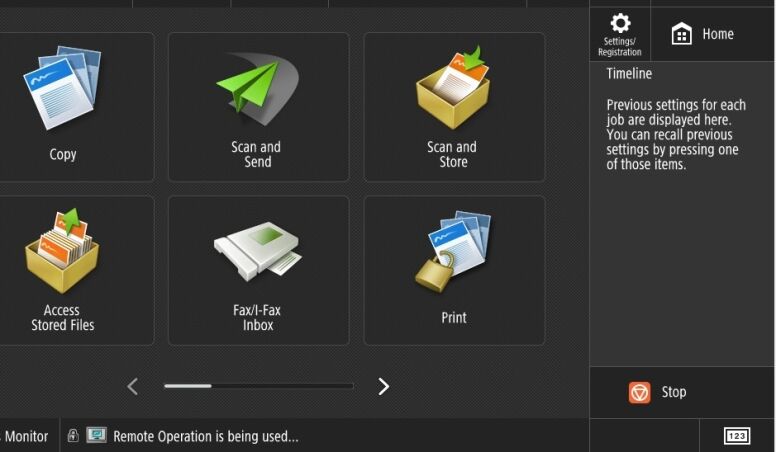
4. Once you are logged in, click the “Settings/Registration” button.

5. Under “Management Settings” on the left, click “User Management” and then click “Department ID Management” at the center of the screen.

6. Click “Settings” to configure the base settings.

7. Configure the settings you would like and then click “OK”
7a. Number 1-Check this box to turn on the function. Once this function is enabled, print jobs sent to the copier will not come out until the dept id/pin is entered into the driver.
7b. Number 2-Here you can restrict functions other than copy and print.
7c. Number 3-Here you can set the option to allow B&W jobs if you only want to restrict color. Then copying and printing black will be allowed without a DEPT ID Code.
7d. Once you have finished with the settings, click “OK” to apply the changes.

8. Click “Register New Department”.

9. Fill out the options and click “OK” when finished.
9a. fill out a department name you want to use.
9b. If you want to use a pin, you can type it in here, otherwise, the only thing needed in the print driver is the Department ID.
9c. If you want to limit the copies and prints, you can check the box and type a number in the field. If you just want to track the jobs, then you can leave the boxes unchecked.

10. After setting “Department IDs” on the copier, you will need to input the ID and pin it into the print driver for print jobs to be accepted by the copier. The Windows guide can be accessed here and the Mac version here.