How can we help?
-
Canon
-
Sharp
-
Konica Minolta
-
HP
-
Xerox
-
Brother
-
Toshiba
-
Kyocera
-
Client Onboarding
< All Topics
Print
How to Setup Job Accounting on Kyocera
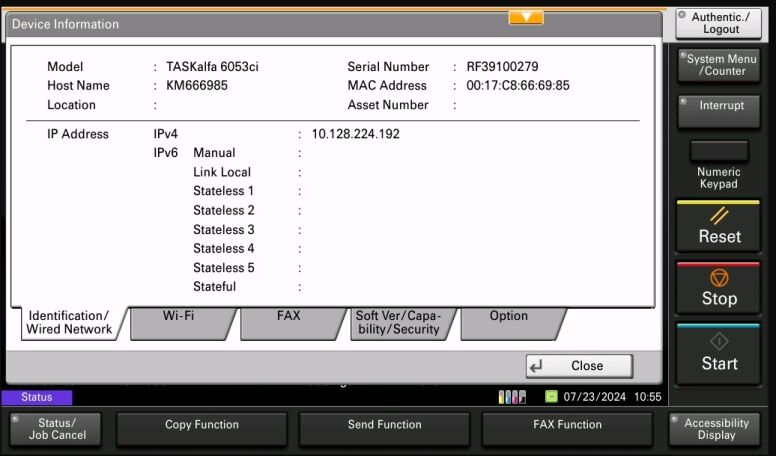
1. At the Device Operation Panel press the Device Information button.

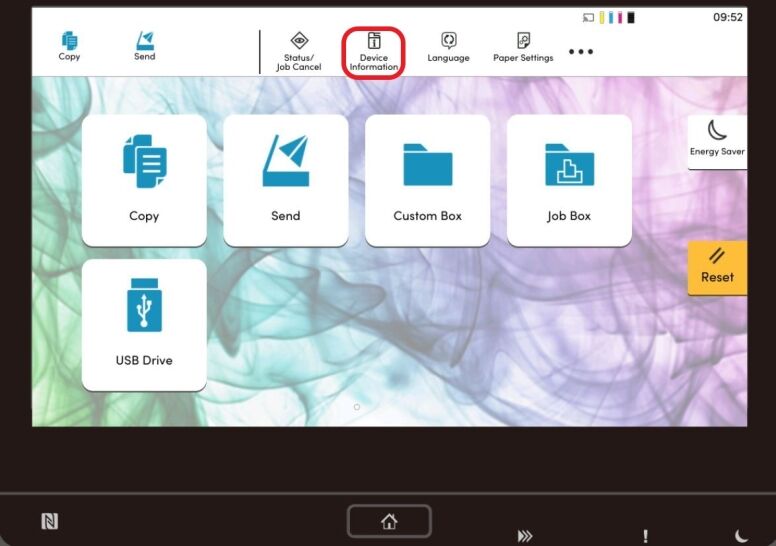
2. The IP Address will be displayed on Operation Panel.
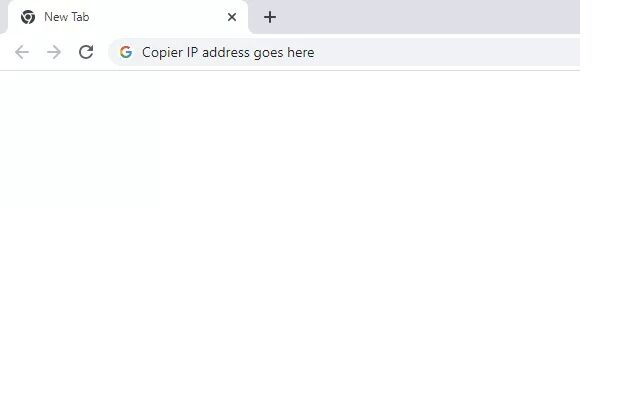
3. Open a web browser and type in the IP address in the address bar and hit Enter.
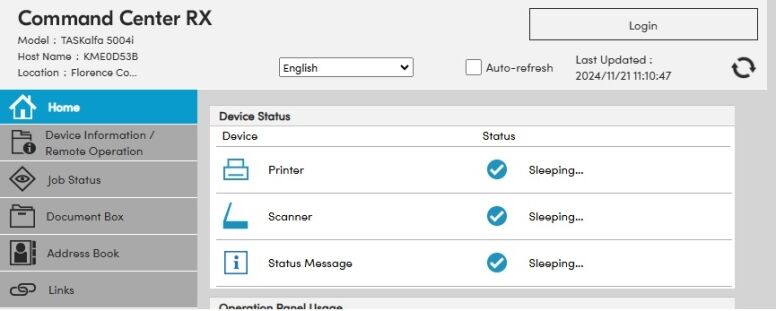
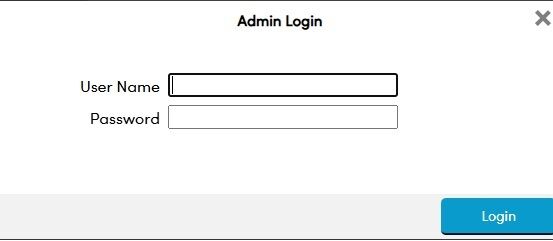
4. Click Login and enter Admin in both the Username and Password fields.
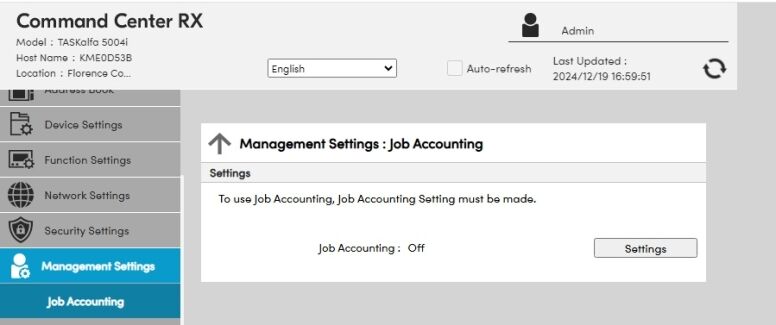
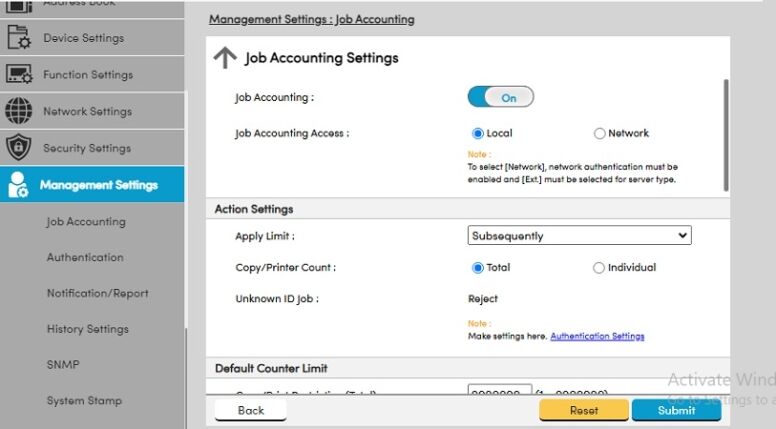
5. Click on Management Settings and Job Accounting. Click Settings. Turn on Job Accounting. Set Job Accounting Access to Local. Change Copy/Printer Count to Total. Click Submit.
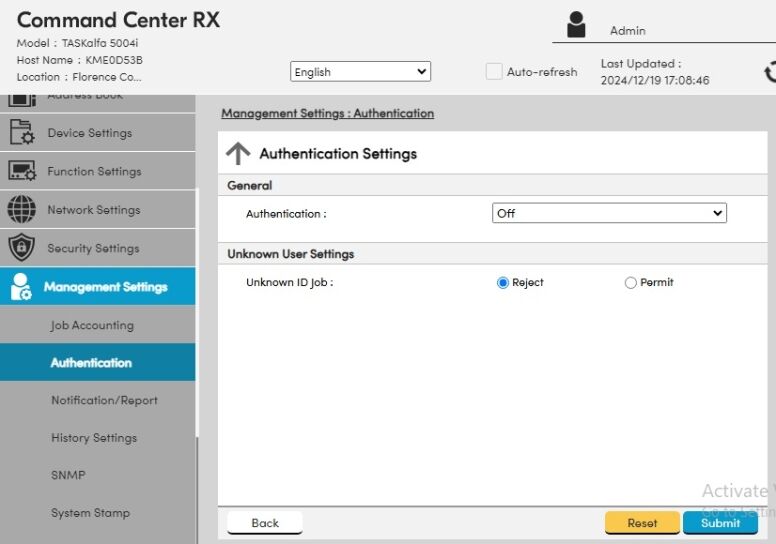
6. Click Authentication and then Settings. Change Unknown User Settings to Reject. Click Submit.
7. Go back to Job Accounting. Click the + Add Account Button. Enter an Account Name (a Department or an Individual’s name). The Account ID will be a numeric password for the Account. Click Submit. Continue to enter any additional Accounts. Then use our How to Setup Kyocera Job Accounting on Windows or MAC guide.
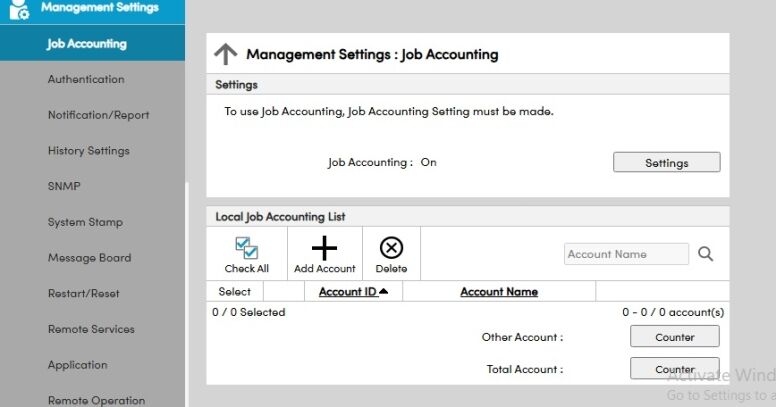
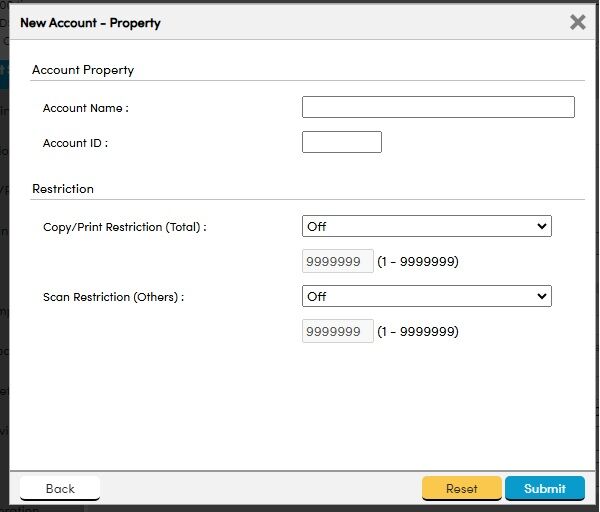
Table of Contents
