How can we help?
-
Canon
-
Sharp
-
Konica Minolta
-
HP
-
Xerox
-
Brother
-
Toshiba
-
Kyocera
-
Client Onboarding
< All Topics
Print
How to Add and Delete Users from the Brother Address Book
1. Follow the Brother Find your IP address guide to find the IP address of your printer.
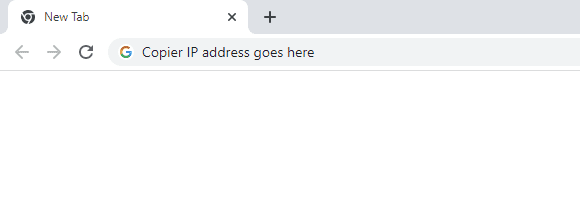
2. Type the IP address of the copier into a new tab in your web browser at the top of the screen, not the search bar, and hit enter.

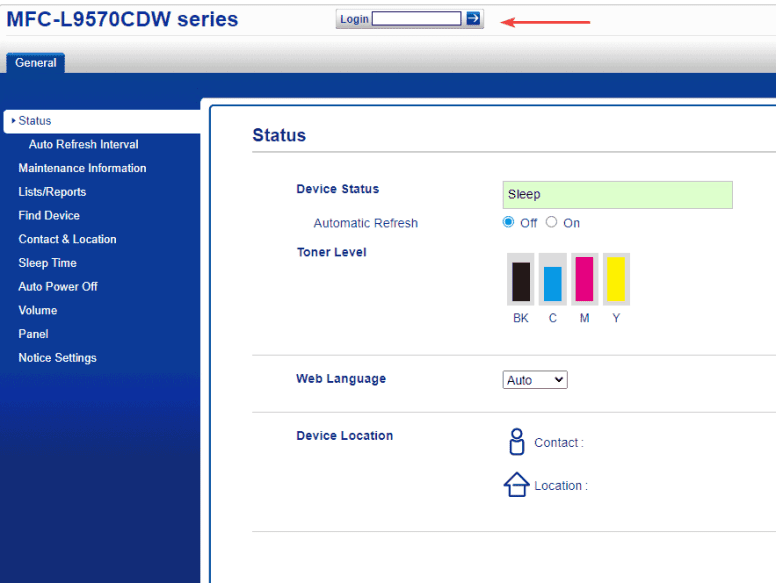
3. At the top of the page, type the password into the login section and hit the arrow or hit enter to complete login.
3a. The default password is “initpass”. On some models, there is a sticker on the back of the copier with a “PWD” label.

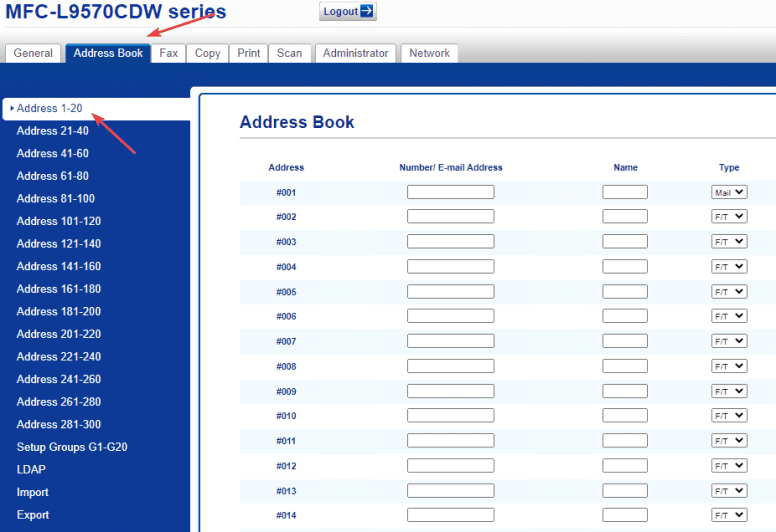
4. Once you are logged in as admin, click the “Address Book” tab at the top of the screen. Select the correct range you want to edit or add.

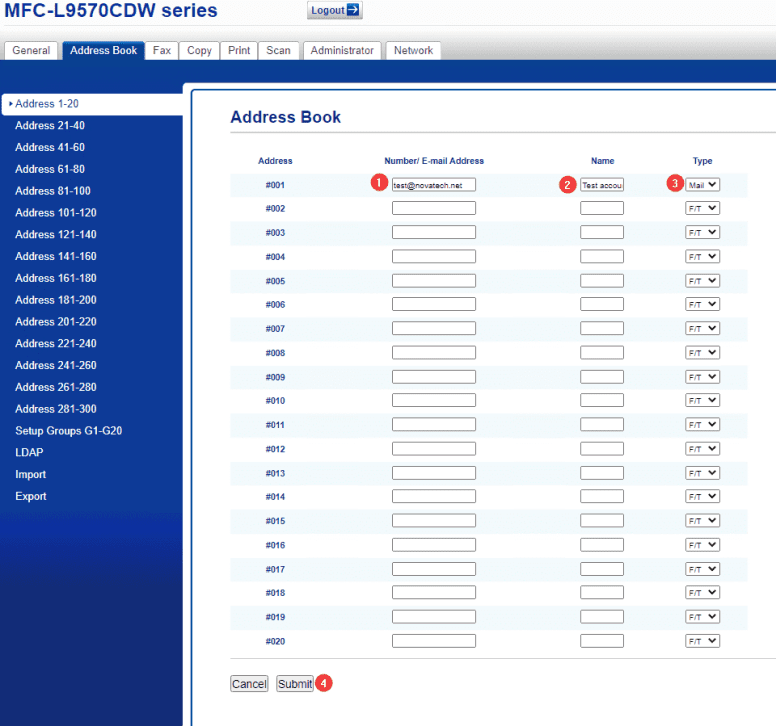
5. Here you can find an open entry in the list and add the user’s email address and name, and then drop down the type to mail. Once you have added and edited what you want, click “Submit” at the bottom to complete the changes. If you want to add fax numbers, you put the number in the first box, and then in the “Type” drop-down make sure it is set to “F/T”.

Table of Contents