How can we help?
-
Canon
-
Sharp
-
Konica Minolta
-
HP
-
Xerox
-
Brother
-
Toshiba
-
Kyocera
-
Client Onboarding
< All Topics
Print
Canon How to Change Date and Time
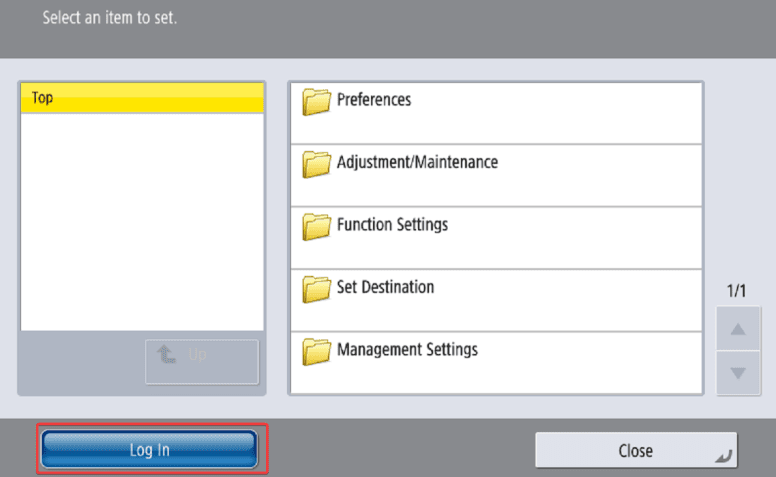
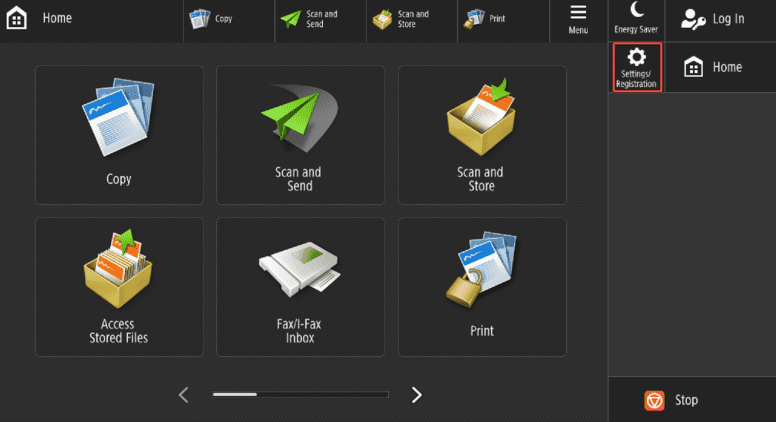
1. From the home screen of the copier press the “Settings/Registration” option. Depending on the model you may have a physical button on the panel.
2. Press the “Log in” option at the bottom of the screen.
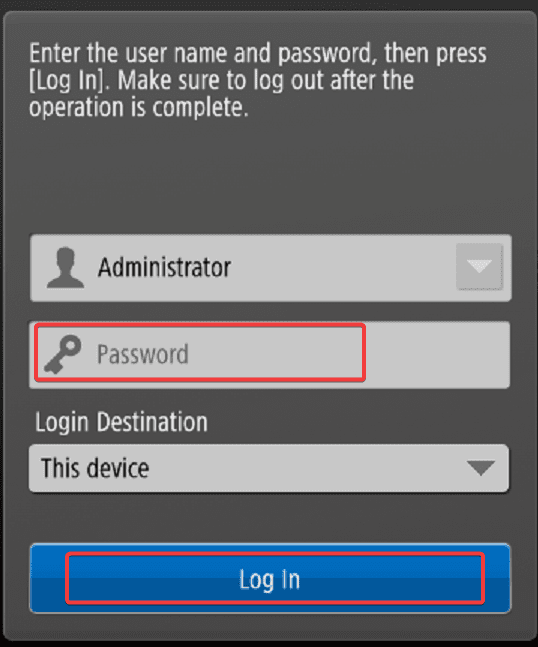
3. Select the “Password” field and input the password with the pop up keyboard and then press “OK” and then “Log in”. The default password 7654321, 1234567 or is left blank.
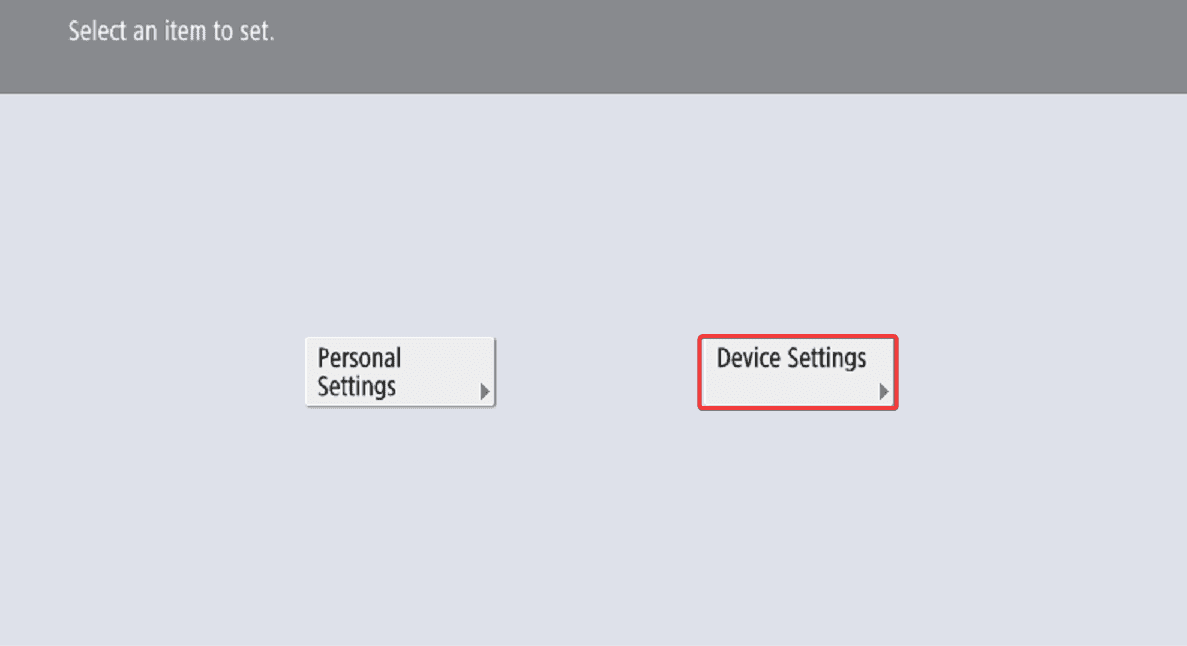
4. Select “Device Settings”.
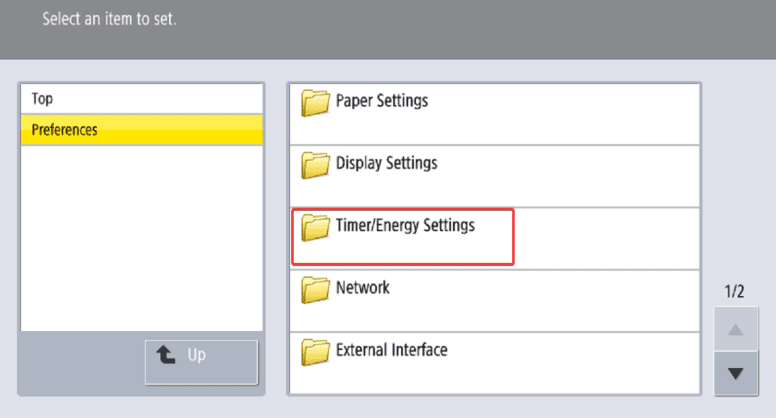
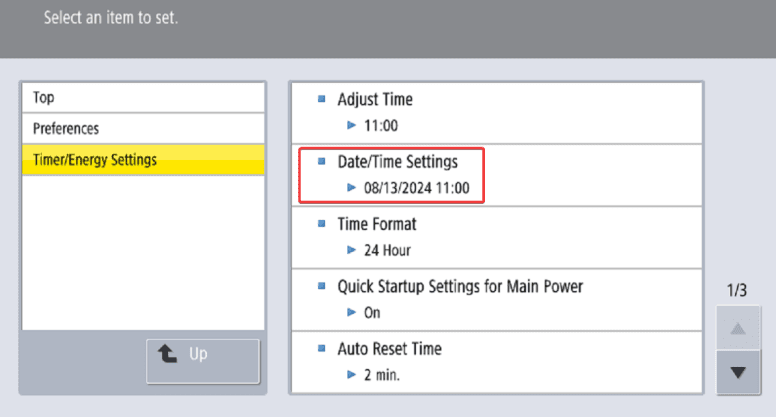
5. Select “Timer/Energy Settings”.
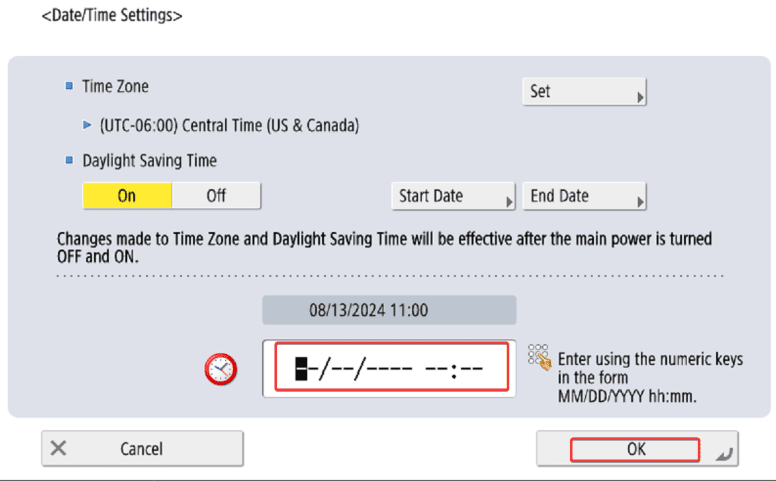
6. Select the second option down, “Date/Time Settings”.
7. At the bottom of the screen input the correct date and time and then select “OK”. After making your changes you will need to restart the copier for them to be applied.
Table of Contents
