How can we help?
-
Canon
-
Sharp
-
Konica Minolta
-
HP
-
Xerox
-
Brother
-
Toshiba
-
Kyocera
-
Client Onboarding
< All Topics
Print
How to Setup Toshiba Department Management Codes
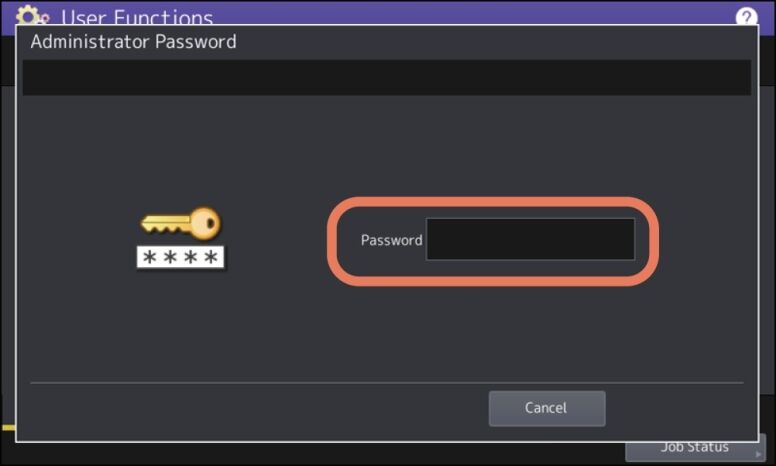
1. From the Control Panel, press “User Functions User”.

2. Press the Admin tab along the bottom. Login with the default password of 123456.
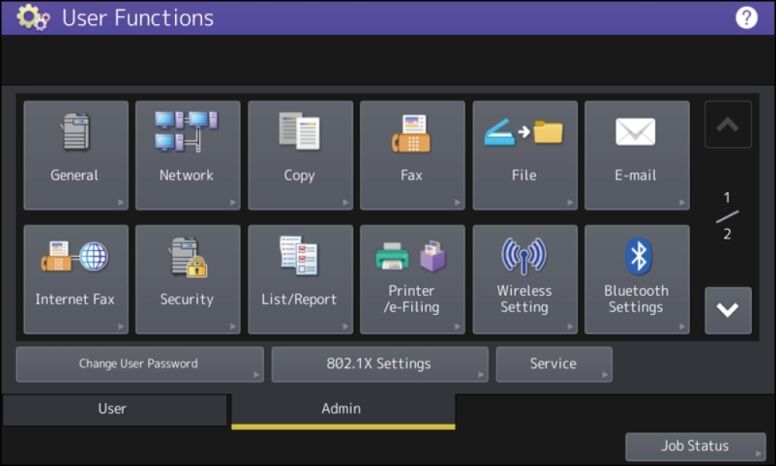
3. Choose List Report. Choose List.
4.Choose NIC Configuration Page.
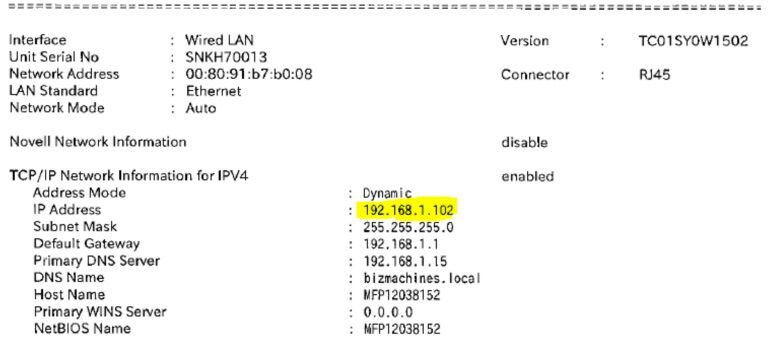
5. On your computer open a new internet browser tab and type in the IP address you got from the Configuration page and press enter. You will have one of the Web UI versions below. Some machines may go directly to a login screen.
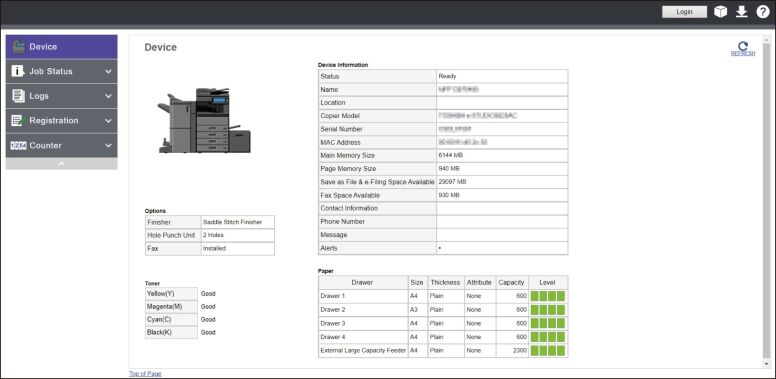
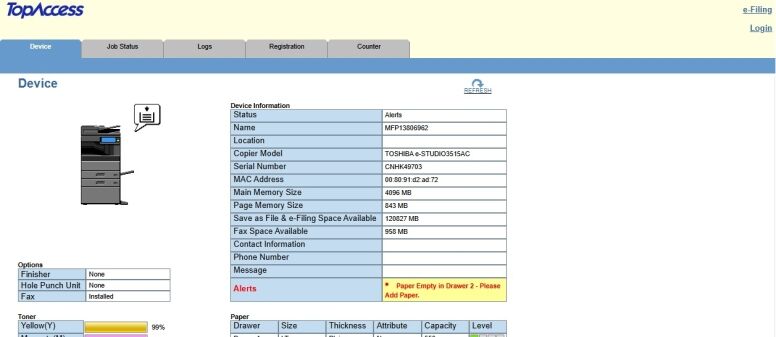
6. Click Login and enter Admin as the Username and 123456 as the password. If the login is incorrect then reach out to your I.T. to see if they have changed the default credentials.

7. Click the User Management tab and Department Management. (If using LDAP or Windows Domain Authentication choose User Accounts instead. )

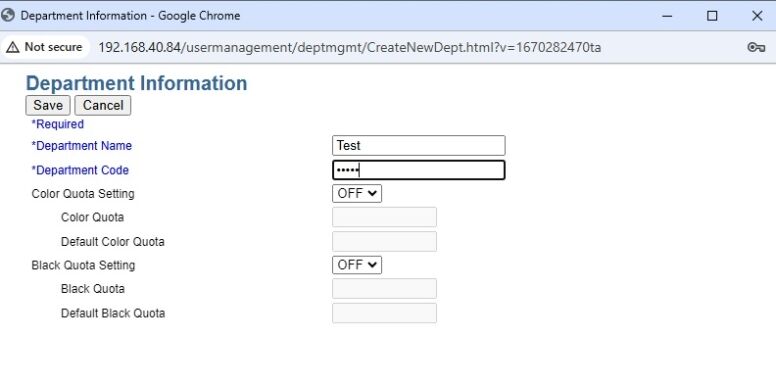
8. Click New and enter the name for the Account user and enter a numeric password. Click Save. Register all the Department codes needed.
9. Click the Administration tab. Click Security. Change the Department Code setting to enable and click Save. If you have setup User Authentication instead scroll down on the same screen and change the setting to Enable. After finishing restart the MFP with the main power switch. The screen will now prompt for your Department ID to login when copying.
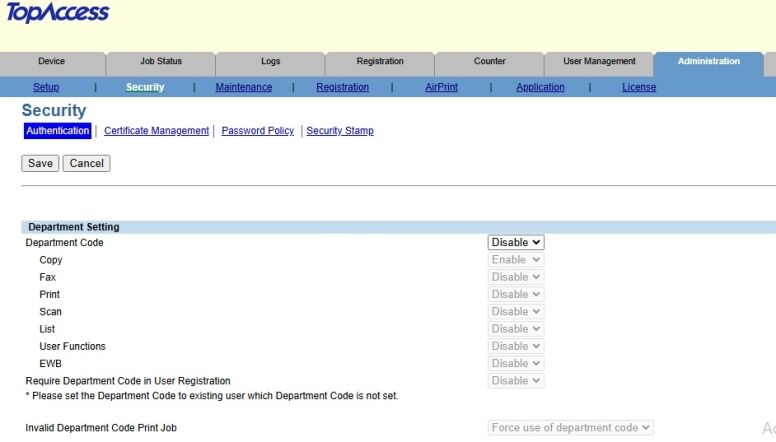
Table of Contents
