
How to Setup Konica Scan to Folder on Mac
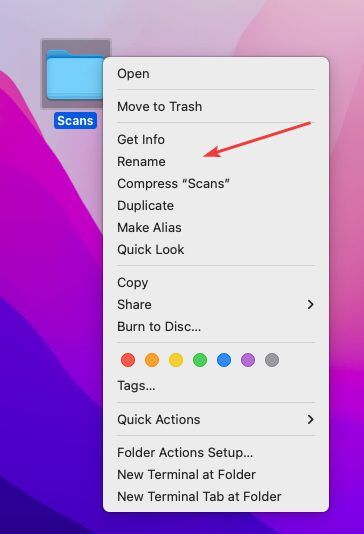
1. Right click a blank spot on your desktop and click “New Folder”. Right-click the folder and click “Rename” and name the folder “Scans”.
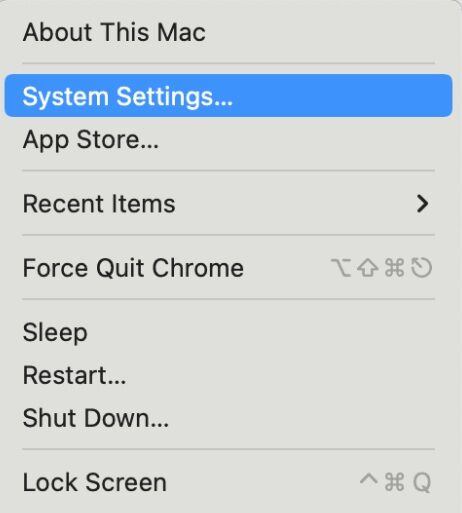
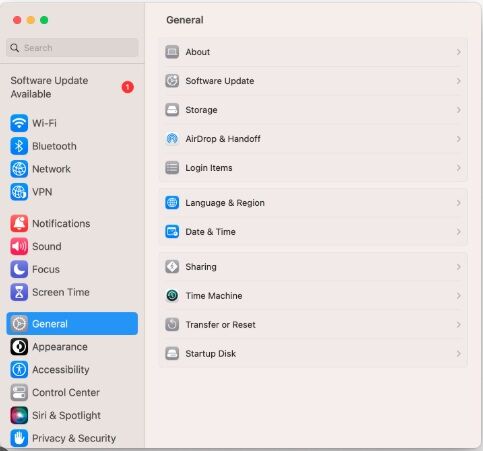
2. Click the Apple icon in the top left and click System Settings and Select General.
3. Click the slider to turn on File Sharing. Click the circle with an i in it next to the slider.


4. To select a specific folder to share, click  at the bottom of the Shared Folders list, locate the Scans folder, select it, then click Open. Right-click the name of the shared folder, then choose Advanced Options to turn on the following options. Only allow SMB encrypted connections . Click OK


5. To give only specific users or groups access to a folder, select the folder in the Shared Folders list, click at the bottom of the Users list, then choose the users who will have access to the folder and choose Select. The user you give permission to will be the Username and Password you will need to configure in the MFP for scan to folder. You can also create a new Username and Password to use for Scans if desired

6. Click the Apple Symbol in the upper left corner and Select About this MAC. Then Click More Info.


7. If you are on WIFI click WIFI then Details to get your IP address. Otherwise go to Network and look for TCP/IP to obtain your IP address. You can also go to General and About to get the hostname of your MAC to scan by hostname.

8. Go to the physical machine and press the “Home/Menu” button, then press the “Utility” option and finally press the “Device Information” button and write down the IPv4 address.


9. Type the IP address of the copier and hit enter.
9a. If you have a “Logout” or “To Login Screen” button in the top right, skip to step 9.

10. Follow the example that looks like your login page.
10a. Default passwords are 123456748 or 1234567812345678
10b. If neither of the default passwords works, contact your IT department to see if they have changed them.


11. Click the “Store Address” option, it should then by default be on the “Address Book” tab, click “New Registration”. Select the “SMB” option and follow the steps below:


11.1. Leave this setting default.
11.2. Put your name or the name you would like to assign to the scan location.
11.3. Drop down and select the option that matches the first letter of the name.
11.4. Check this box if you want the scan location to be in the favorites section on the physical machine.
11.5. This is your computer’s IP address. To find it, click the apple in the top left, click “System Preferences”, then double-click “Network” and look at the “IP Address” field.
11.6. The “File Path” is “Scans”.
11.7. This is your username on the computer when you log into it. If you don’t know it, go to “System Preferences” and double click “Users & Groups” and it is listed under “Current User”.
11.8. This is the password you use to get onto the computer. Click Ok when done entering all information.