How can we help?
How to Install a Kyocera Printer on MAC
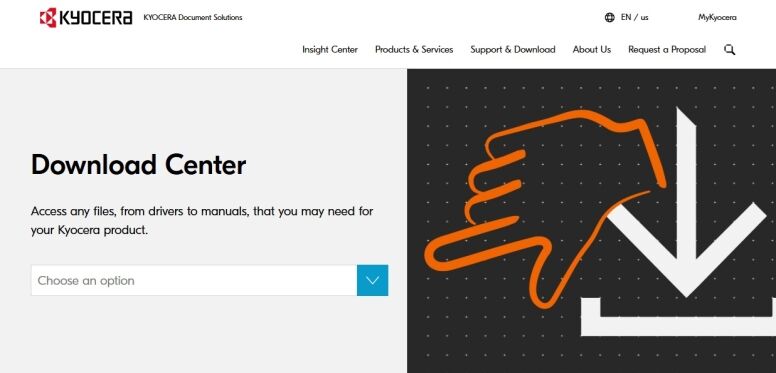
1. Navigate to the Kyocera driver website. Search for the model of your device and select it from the list.
2. Make sure the correct operating system is selected at the top and then click the download icon next to “MAC Installer”. You will need to select “Accept and continue”.

3. Open the “Finder” application and navigate to the “Downloads” folder and double-click the Series OSX file. It will extract a file with the same name and a small box next to it. Double click the new file and run through the installer. It will install the driver onto your MAC.

4. At the Device Operation Panel press the Device Information button.

5. The IP Address will be displayed on Operation Panel.

6. Once the installation is completed press the “Apple” icon in the top left corner of the screen and then click “System Settings”.

7. Double-click “Printers and Scanners”.

8. Follow the steps below:
8a. Click the Add Printer, Scanner or Fax

8b. Click the “Globe” icon at the top of the screen that says IP.

9. Follow the steps below:
9a. Type in the IP address of the copier in the Address field. You can find this by going to the device pressing the Device Information button or use our How to Find Your Kyocera IP Address Guide.
9b. Click the drop-down and choose “LPD”.
9c. Give the printer a name.
9d. Click the drop-down and choose “Select Software”.
9e. In the next window at the top type the model of the printer and select it from the list.
9f. Click “OK”.
9g. Click “Add” to complete the installation.
