How can we help?
-
Canon
-
Sharp
-
Konica Minolta
-
HP
-
Xerox
-
Brother
-
Toshiba
-
Kyocera
-
Client Onboarding
< All Topics
Print
How to Setup Sharp User Control on MAC
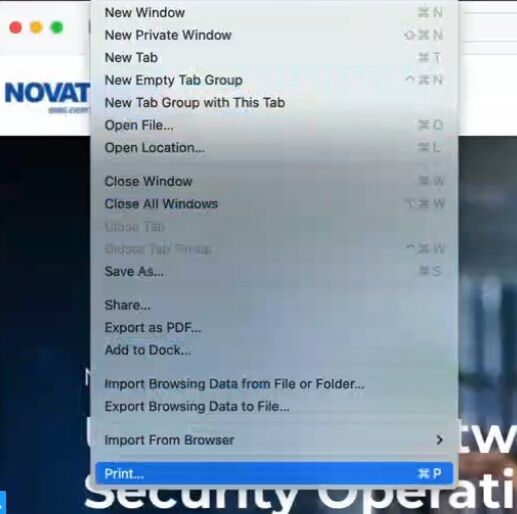
1. After you have installed your Sharp MAC driver following the How to Install a Sharp Printer on MAC guide open Safari and go to any website. Choose File then Print.
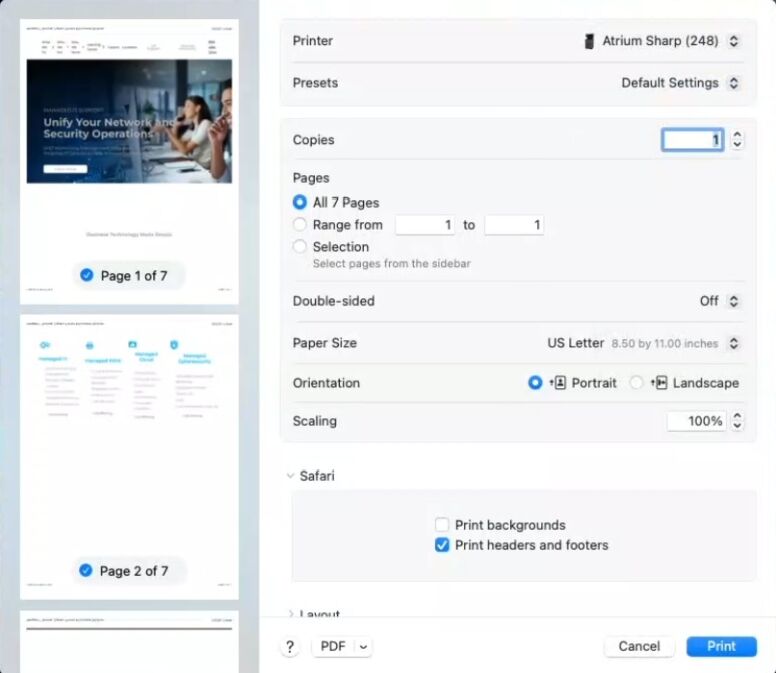
2. Set the Destination Printer to the Sharp.
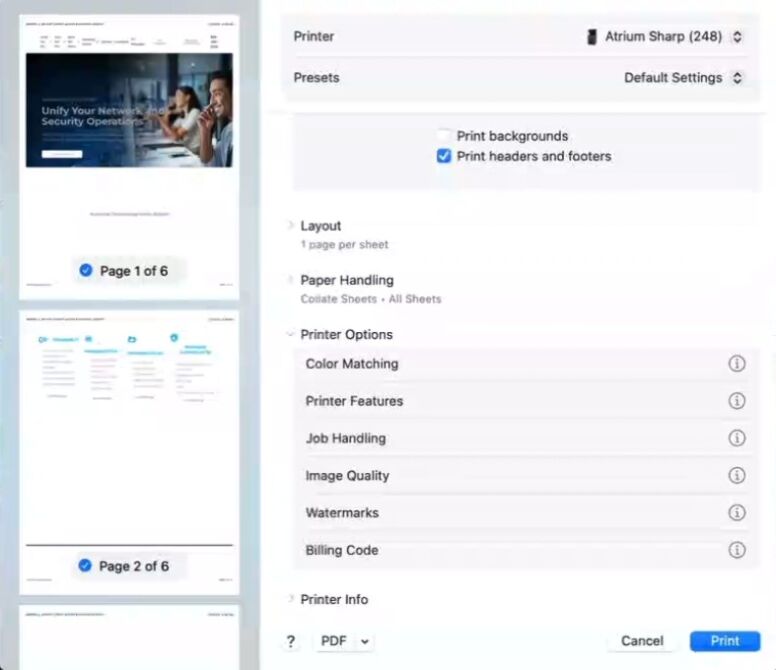
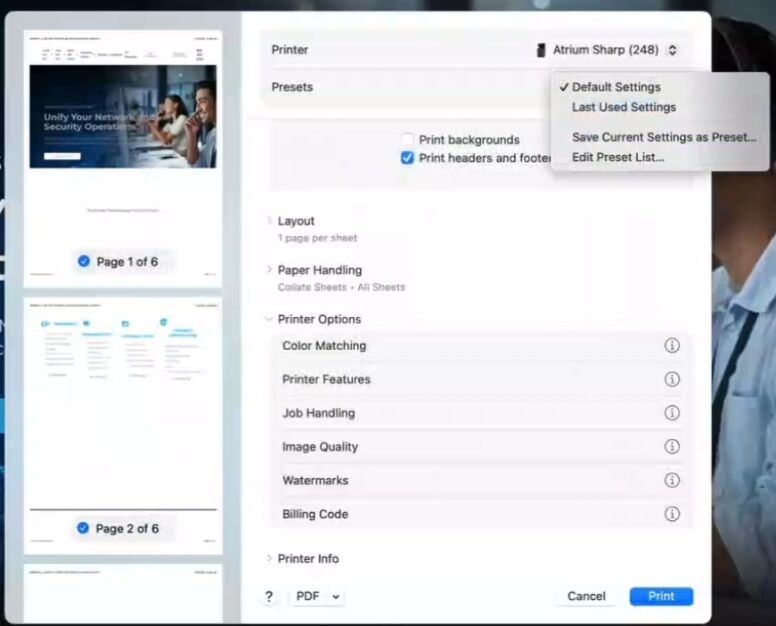
3. Scroll down and choose Printer Options. Select Job Handling.
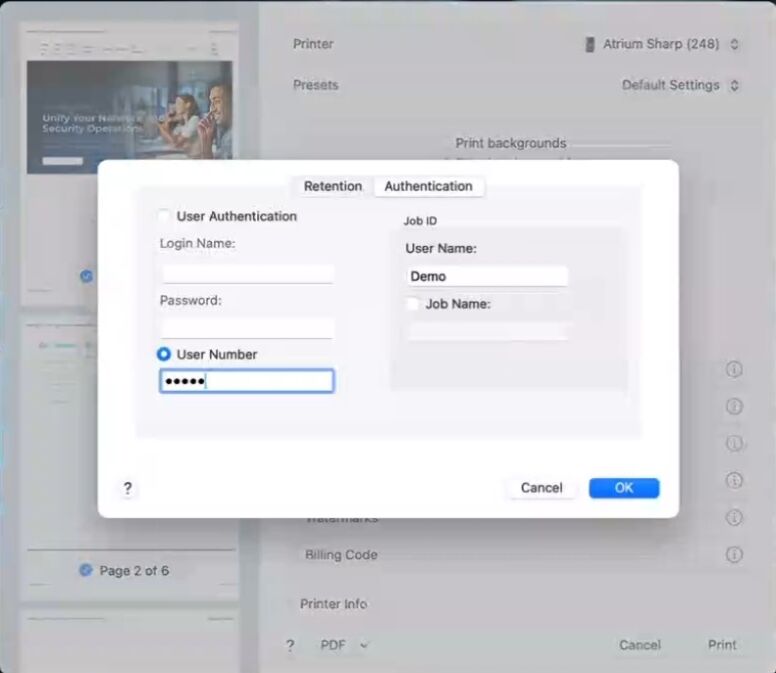
4. Select the Authentication Tab and choose User Number. Enter your User Number. If you have set the machine up with a Username and Password instead you can select the User Authentication section. Click Ok.
5. Make any other changes you would like for your default settings. Such as defaulting the machine to Black instead of Color. Go to Presets and select the drop down. Choose Save Current Settings as Preset and give it a name. When printing to the printer from different applications you will want to make sure your Preset is set to the one you have created so the print job will authenticate properly.
6. Click Print to confirm print job is released on machine.
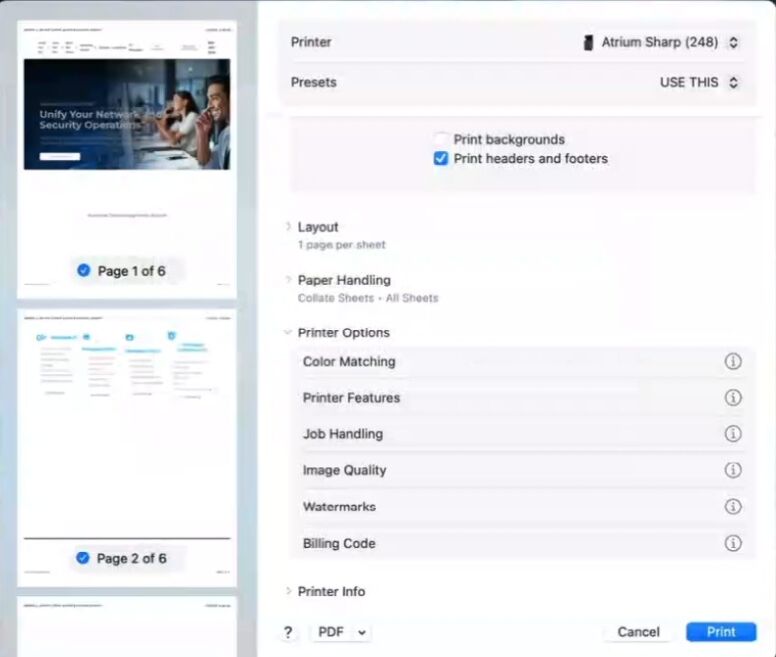
Table of Contents