How can we help?
-
Canon
-
Sharp
-
Konica Minolta
-
HP
-
Xerox
-
Brother
-
Toshiba
-
Kyocera
-
Client Onboarding
< All Topics
Print
How to Add And Delete Users From The Xerox Address Book
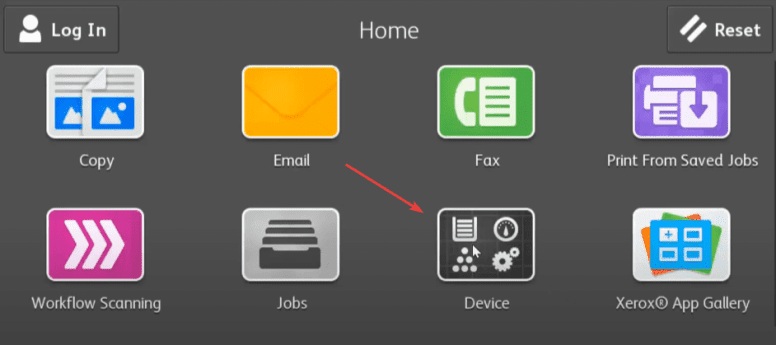
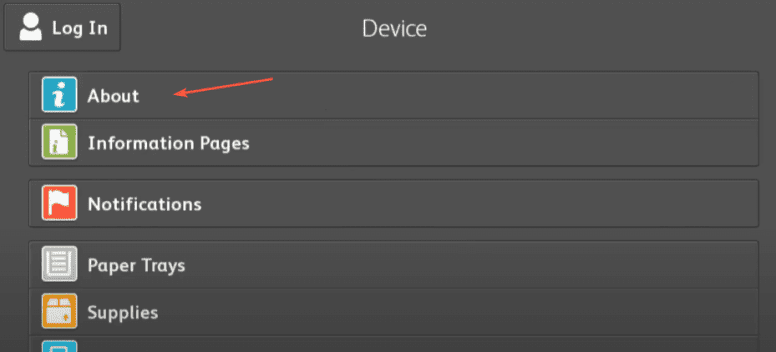
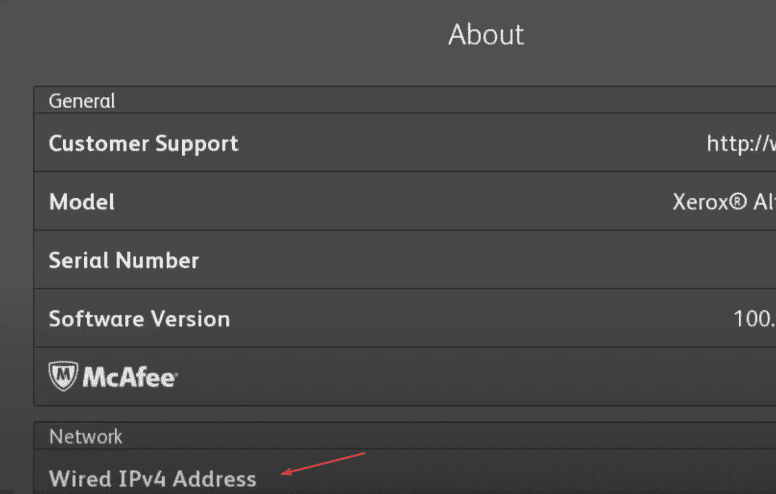
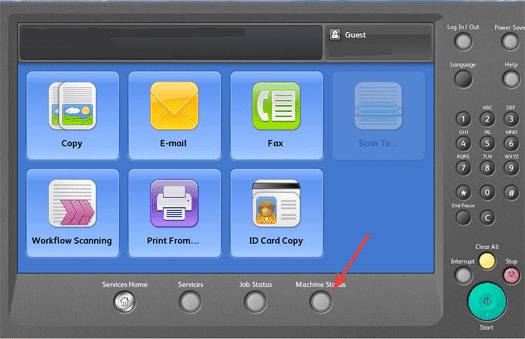
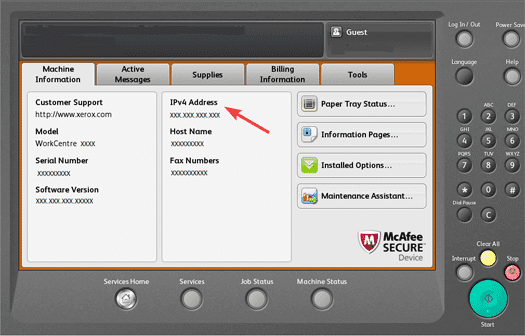
1. Start by getting the IP address of the copier. You can access the IP address by pressing the “Machine Status” button or, on other models, the “Device” option on the main menu and then “About”.
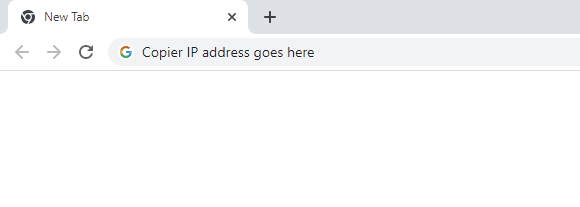
2. Go to your computer and open a new tab on your web browser and type the IP address into the address bar at the top and then hit enter.
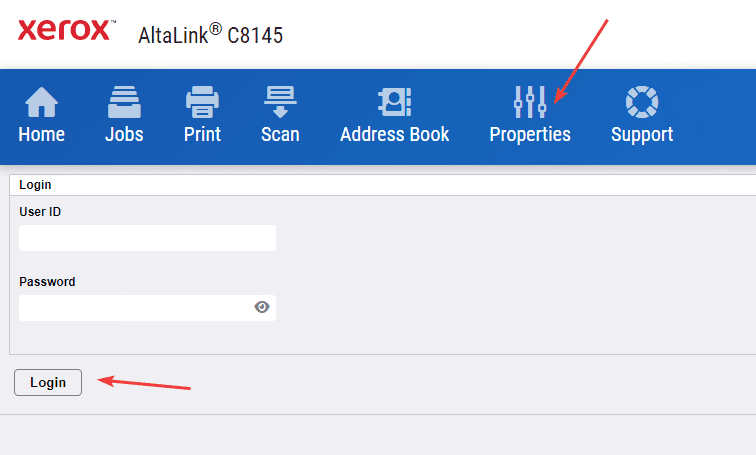
3. Click the “Properties” tab and then log in.
3a. The default login is “admin” for the username and “1111” for the password. On some models, you may need to use the serial number for the password, which can be located on the back of the copier.
4. Once you are logged in, click the “Address Book” tab. Here you can add delete and edit users.
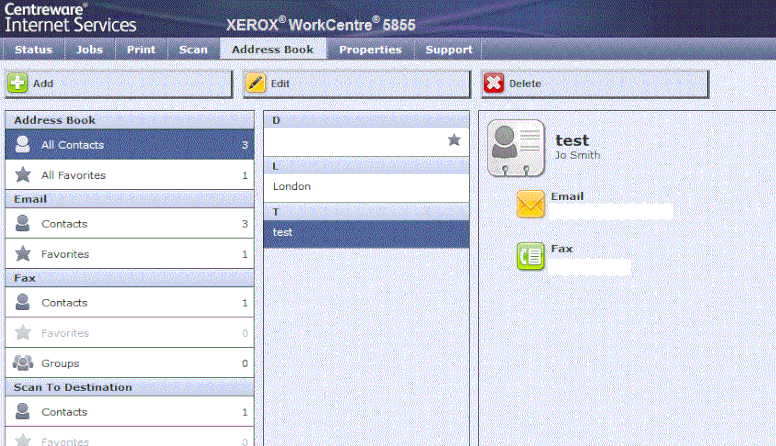
Table of Contents