How to Setup Xerox on a New Network
1. On the control panel of the copier, press the login/out button and log in as the administrator.
1a. The default username is “admin”. The default password is “1111” or “11111”.
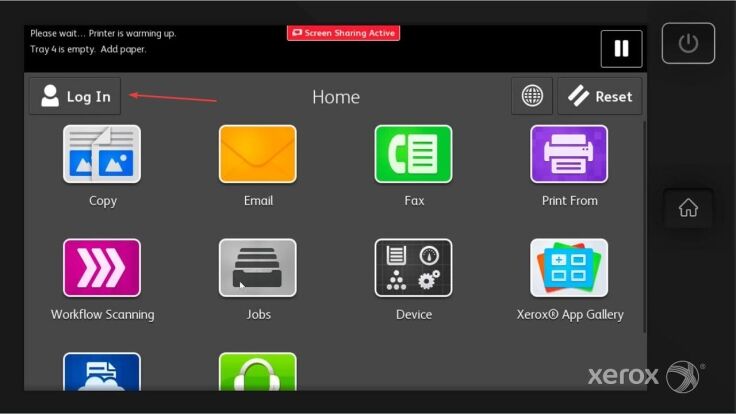
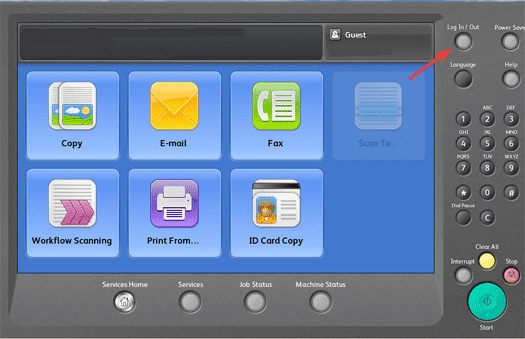
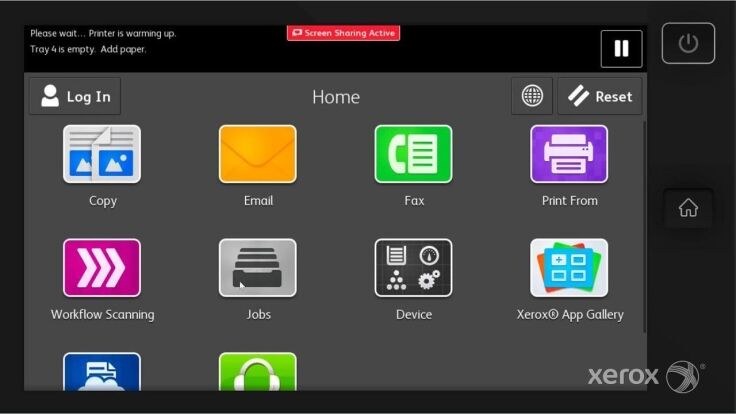
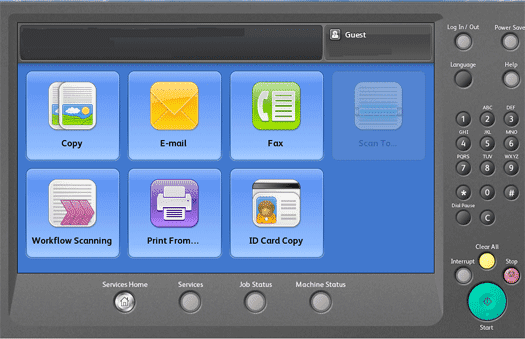
2. Follow the example that matches your copier screen.
2a. After you have logged in, press the options in the following order: Device>Tools>Network Settings>TCP/IP Settings>Dynamic Addressing. Press the “Enable” option under the “Dynamic Addressing” section. Press “OK” and then “Finish” to apply the changes. After the device retrieves an IP address write it down. Go back into Device>Tools>Networking>TCP/IP Settings and set Dynamic Addressing to disabled so the device will maintain the new IP address. Use our How to Find your Xerox IP Address guide to find your new IP address.
2b. After you have logged in, press the options in the following order: Machine Status>Tools>Network Settings>TCP/IP>Dynamic Addressing>DHCP. Once you have selected DHCP you can press “OK” and then “OK” again to complete the settings. Once you have finished please power off the copier with the switch and then power it back on after 10 seconds. Use our How to Find your Xerox IP Address guide to retrieve your new IP address. Go back into the Machine Status>Tools> Network Settings and turn of DHCP.
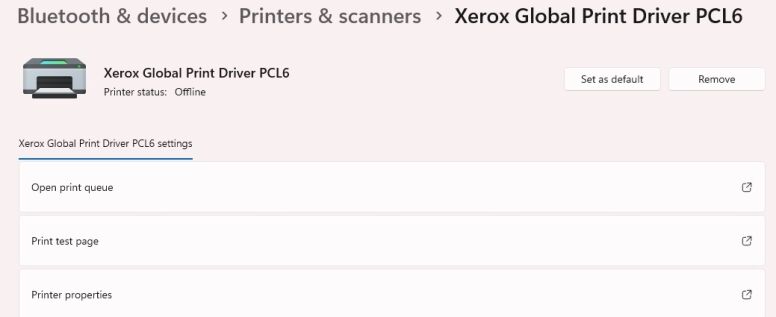
3. If you already have a Xerox driver installed on your computer you will need to point it to the new IP Address. On a MAC computer you will need to reinstall the driver. Follow the How to Install a Xerox Printer on MAC guide. On Windows 11 you will use the Search option on your taskbar to open Printers and Scanners. Find your printer and click on it.

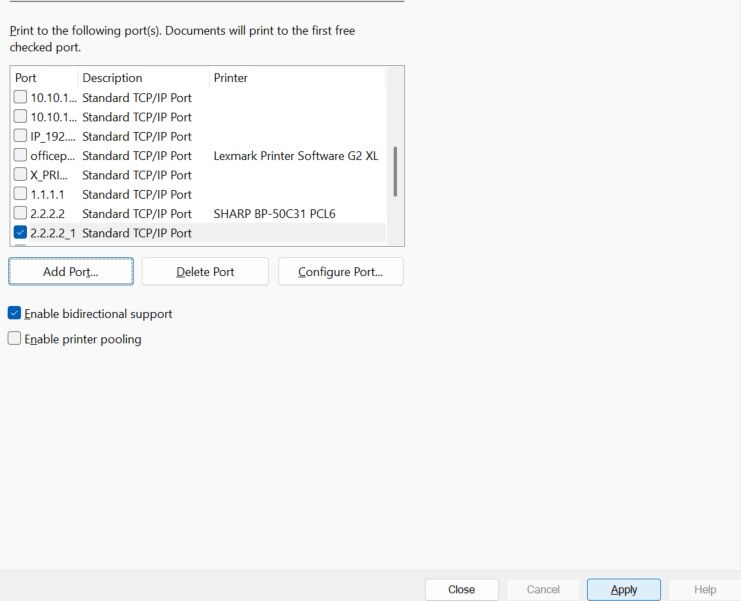
4. Choose Printer Properties and go to the Ports tab.
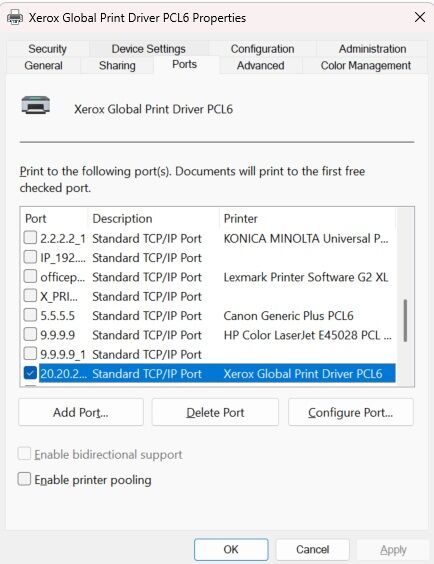
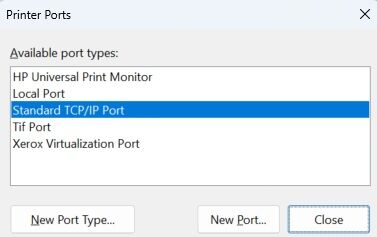
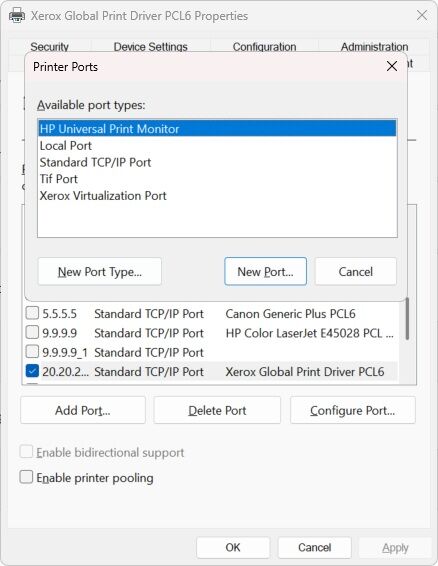
5. Click Add Port. Choose Standard TCP/IP Port and click New Port. It will start a Wizard.
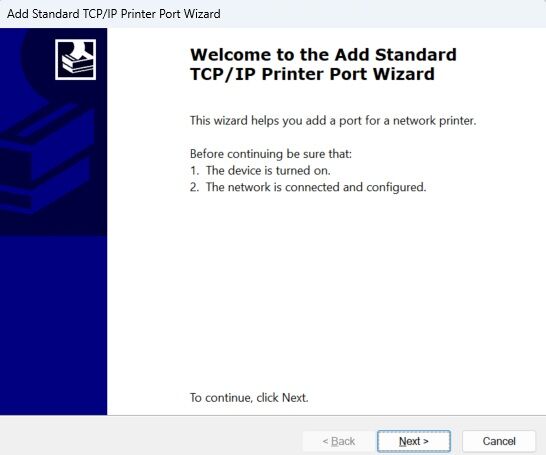
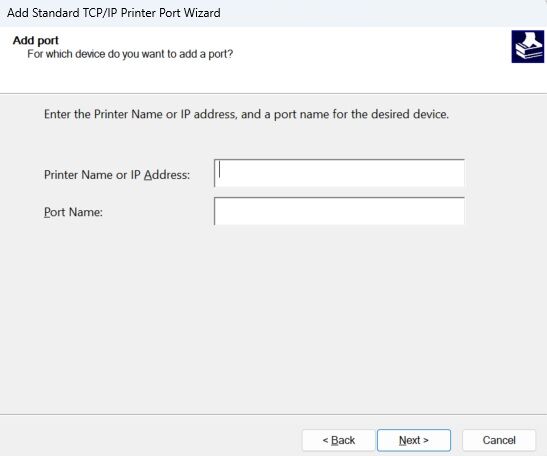
6. Click Next. In the Printer name or IP address type in the newly acquired IP address of your machine and click Next. Continue through the wizard until you can choose Finish.
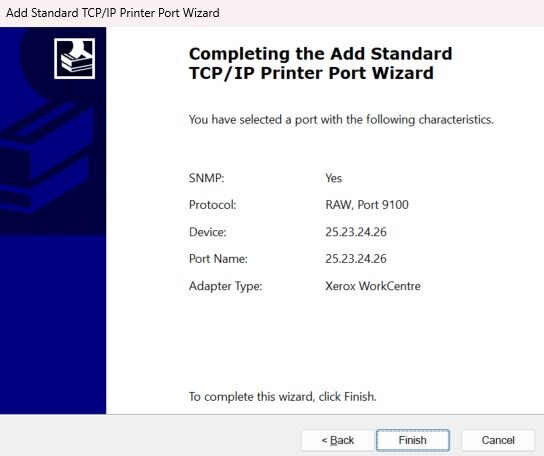
7. It will go back to the Printer ports box. Click Close then Click Apply in the lower right corner. The printer will be pointed to the new IP address.
