-
Canon
-
Sharp
-
Konica Minolta
-
HP
-
Xerox
-
Brother
-
Toshiba
-
Kyocera
-
Client Onboarding
How to Install HP Printer on Windows
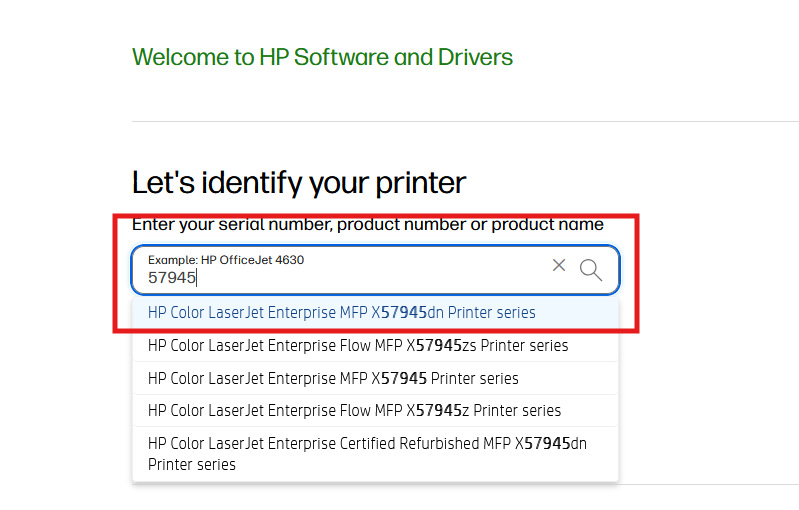
Navigate to the HP Support Page
Input your model number and select it from the list
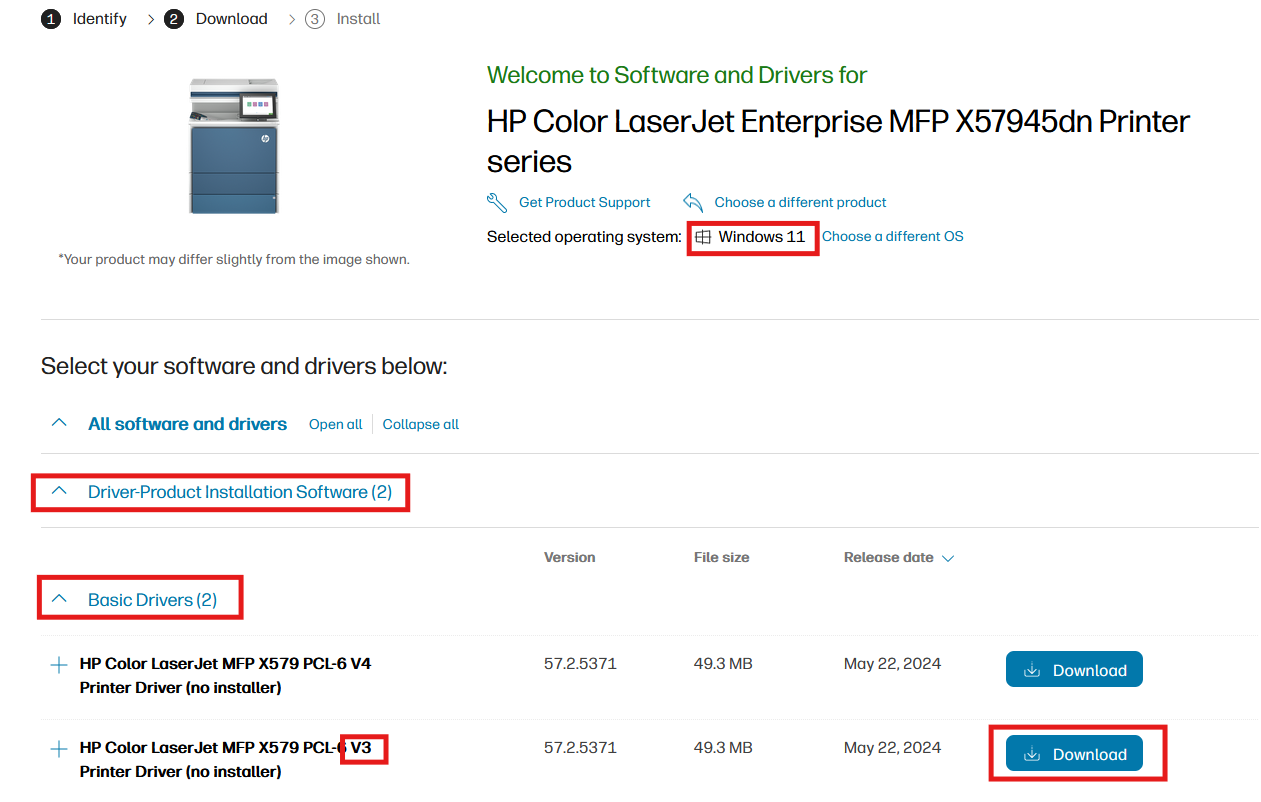
Make sure the operating system is correct, then expand Driver-Product and then Basic Drivers and download the V3 driver
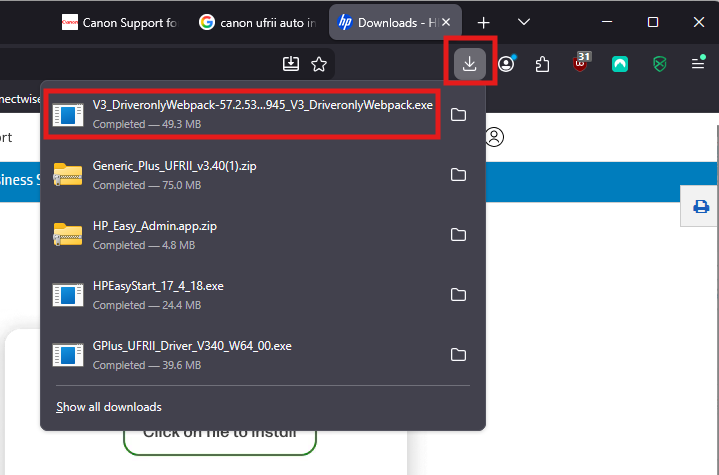
Click the down arrow in your browser or the three dots/lines in the top right and select downloads, then click the downloaded file to open it
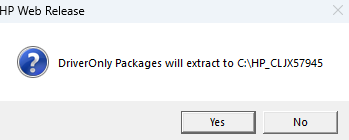
5. Click “Yes” on the extract window.
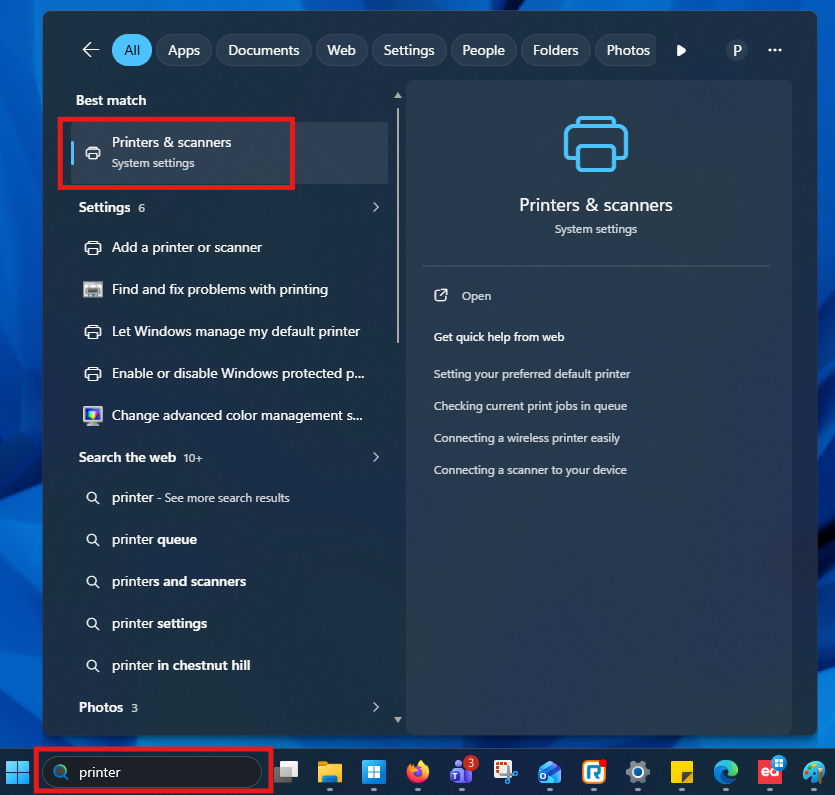
6. Right-click the “Windows” icon at the bottom of the screen and click “Settings”. Then Select “Bluetooth & devices” and then select “Printers & scanners”.
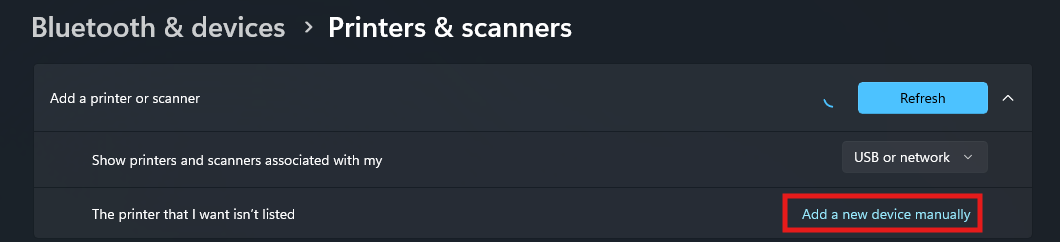
Select add device and then add device manually

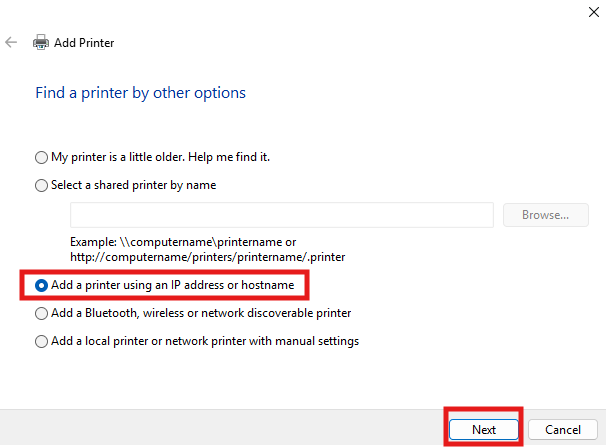
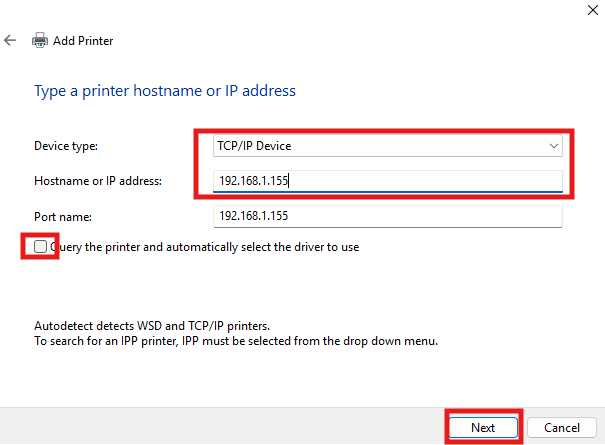
Select add printer with IP address and click next
Choose TCP/IP from the drop down, enter the IP address, uncheck the box and click next
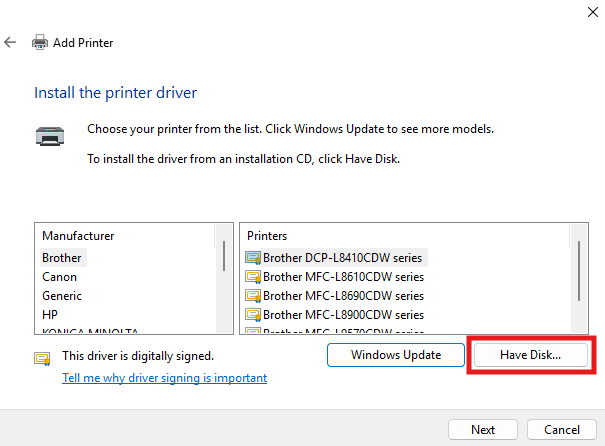
Click have disk, then browse
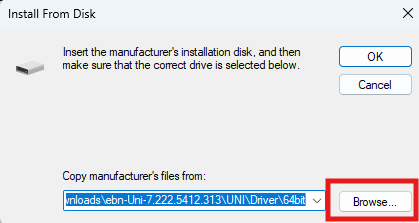
On the left select this PC then open the C: drive then the HP_model number folder, now follow the folders listed in the image till you get to the driver file then click open

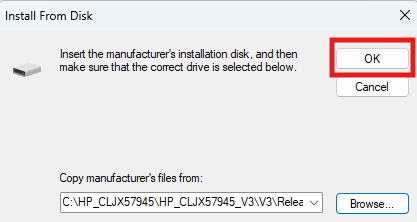
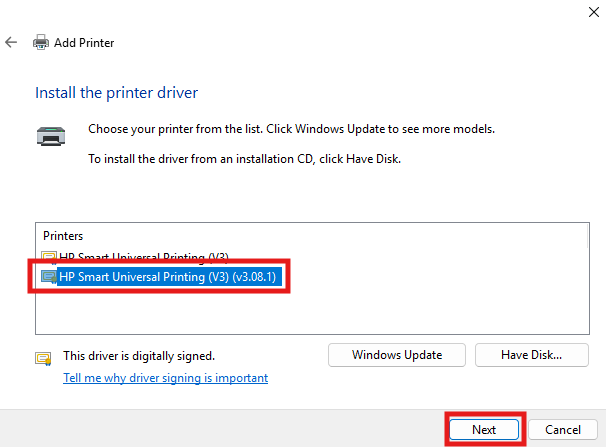
Select OK and then choose the driver from the list that has the version number and click next (your driver might differ from the example)
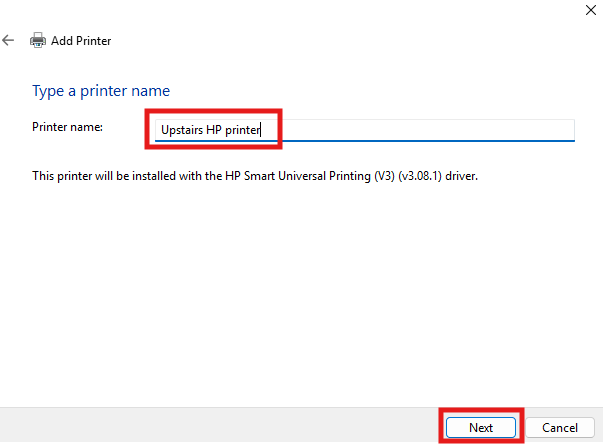
Name the printer or keep the default name and click next
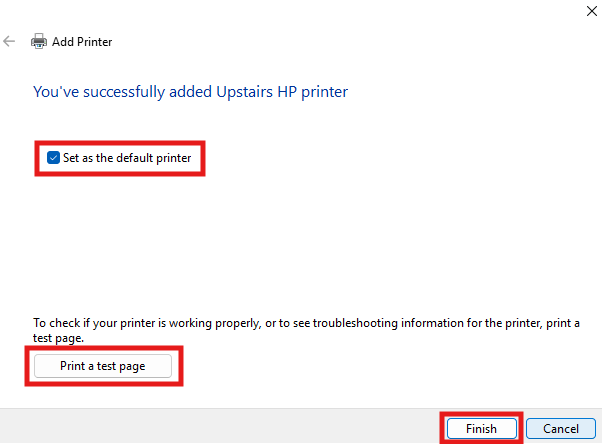
Decide if you want it to be your default printer then print a test page and click finish