
How can we help?
How to setup Sharp scan to folder on Windows
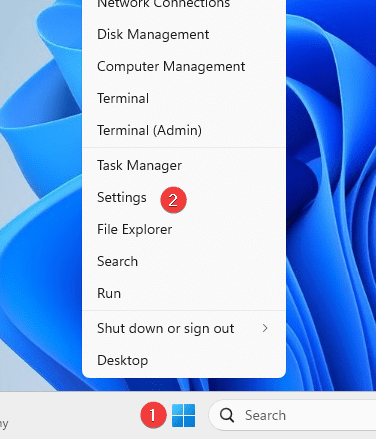
1. Right click the Windows icon in the bottom of the screen and select “settings”.
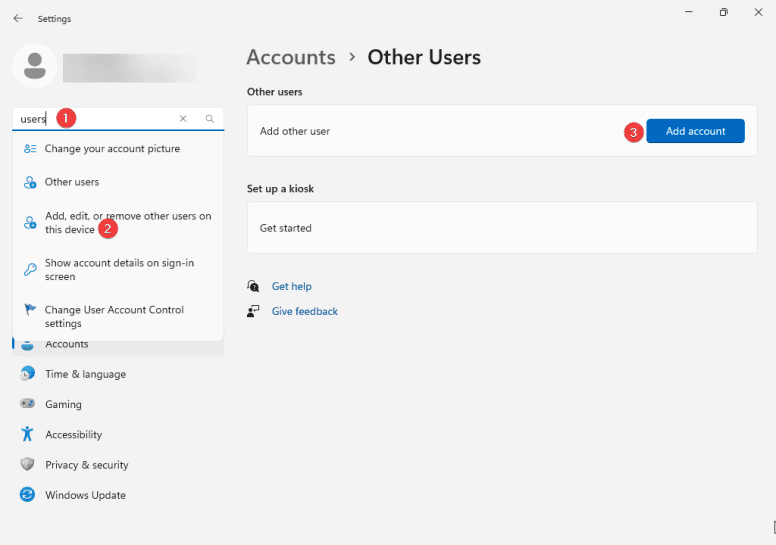
2. Type “users” into the search bar and select “Add, edit or remove” and then on the right select “Add account”.
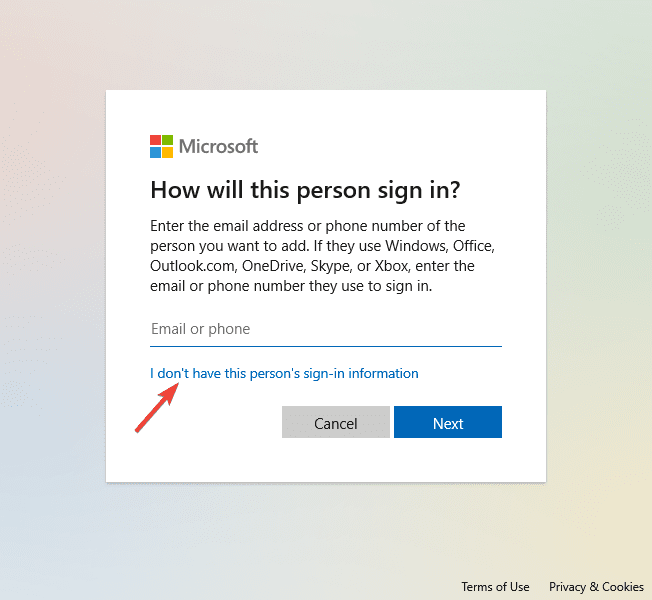
3. Select “I don’t have sign-in information” then select “Add a user without account”.

4. Give the user account a name password and fill out the recovery questions. Then select “Next”.

5. Go the your main desktop and right click a blank area and select “New” and then “Folder” and name the folder Scans.

6. Right click the folder and go to “Properties”. On some versions you may need to select “Show more options” and then “Properties”.

7. Select the “Sharing” tab and then press the “Share” button.

8. Type the name of the user account you created earlier and then press “Add” (you can also select it from the drop down). Drop down the permissions to be “read/write” and then select “Share”. If you get a prompt for username/password then reach out to your IT provider.

9. Now select “Advanced Sharing”.
10. Make sure “Share this folder” is checked and then select “Permissions”.

11. Click on the “Add” button and type in the name of the account you created and then select “Check Names” to auto fill it, then select “OK”.

12. Select the user account you just added in the previous screen and make sure it has “Full Control” then press “OK”.

13. Press “OK” to close the window and again on the window behind it.
14. Right click the “Windows” icon and go to “Settings”. Then select “Network & Internet” and then “Properties and make sure it is set to “Private”.


15. Go to the copier and press the “Settings” button and then the status tab and “Network status” and write down the “IPv4 address”.


16. Type the IP address into a new tab on your preferred web browser and hit enter.

17. Click the “Address book” tab and then click “Add”.

18. Click on the Network Folder tab. In the Address Name field type the name you want on your Address Key on the operator panel. In Initial enter the first letter of that name. Click the Register this address to be added to the [Frequent Use] box. In Network Folder path use the format in the picture below. After the \\ you will enter your computer IP address or the Hostname of your PC. Then after the single \ you will enter the scans folder name. In the User Name field enter the User Name you have created. Then Check the box for Change Password and enter the Password. Scroll down and click Set as Default used and Click Submit.


19. Go to the Operation Panel of the MFP and touch the Network Folder icon. If you dont see the icon scroll to the left until you see the key displayed.

20. In Network folder, select Address Book and find your scan destination to scan to your computer.
