How to Install a Toshiba Printer on Windows
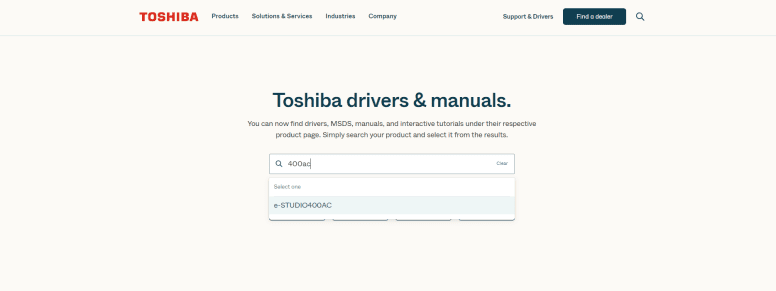
1. Navigate to the Toshiba driver website, type the model of your printer in the search bar and select it from the results.
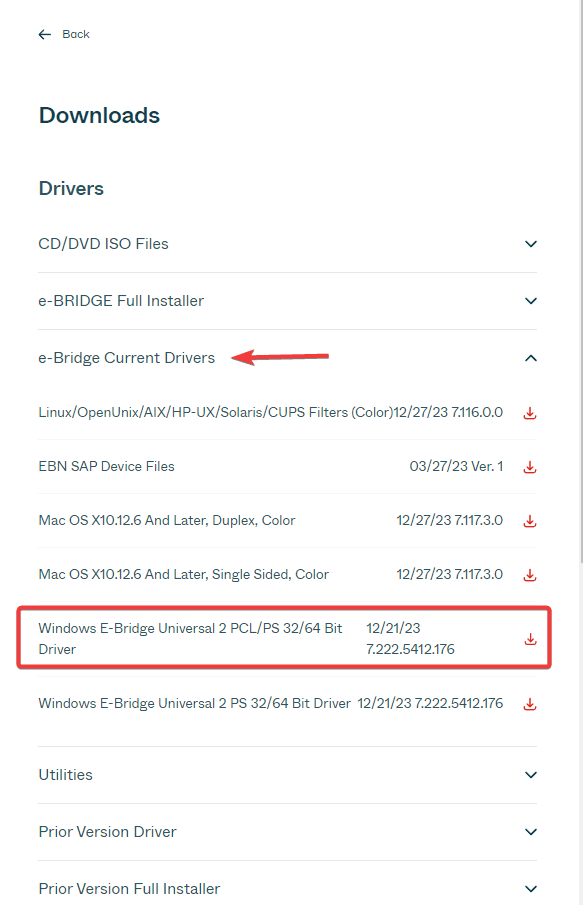
2. On the left side expand the “e-Bridge Current Drivers” section and select the second to last option with the PCL/PS in the title.
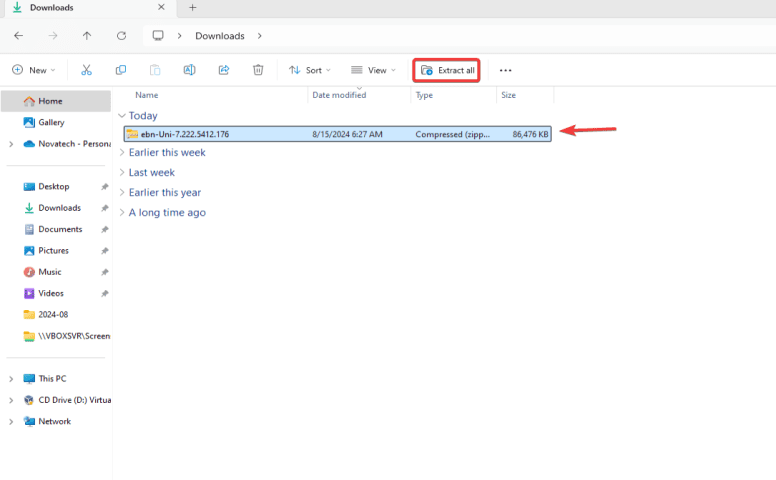
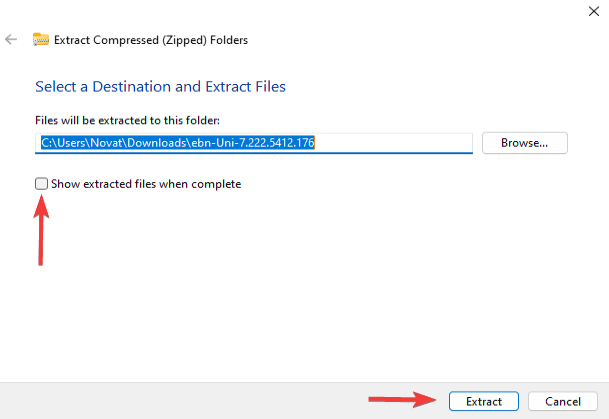
3. Once the file has finished downloading, navigate to your downloads folder and find the file you downloaded and extract the contents. Uncheck the box at the bottom and then select “Extract”.
4. Right click the Windows icon in the task bar at the bottom and select “Settings”. Select “Bluetooth & devices”, then select “Printers & scanners”. 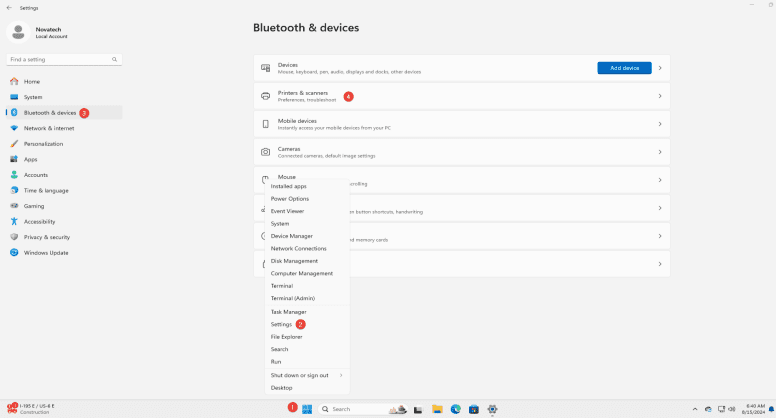
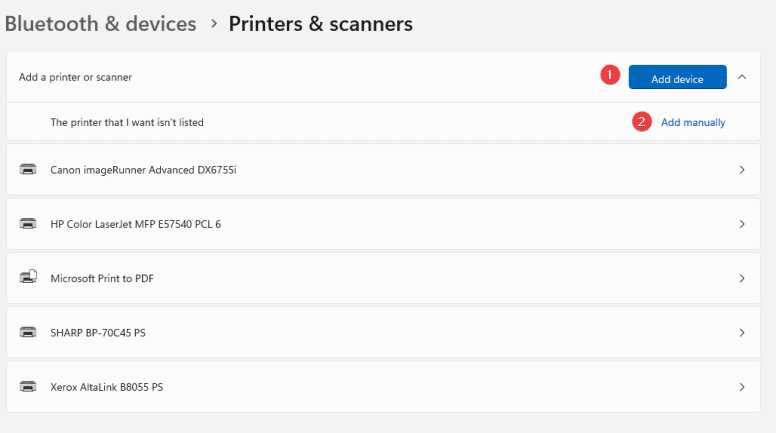
5. Select “Add device”, wait for the blue link to show up that says “Add Manually” and then select it.
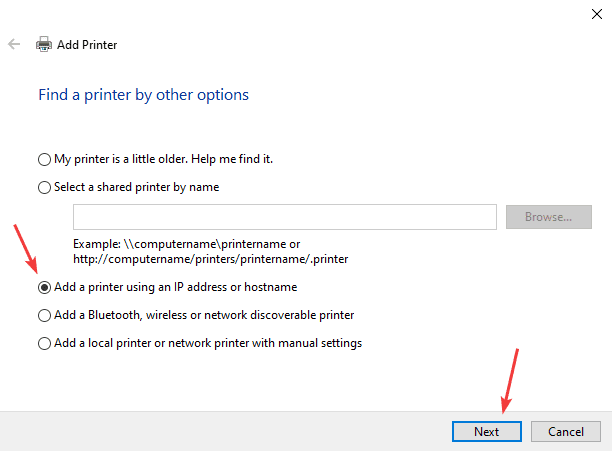
6. Select “Add a printer using an IP address or hostname” and then click “Next”.
7. Drop down the “Device type” to “TCP/IP Device”. Type the IP address of the copier in the “Hostname or IP address” field. Leave the “port name” field with whatever is populated there, uncheck the box at the bottom, then click “Next”.
7a. To find the IP address of the copier, go to the physical machine, press the “User function” button > “Admin” at the bottom of the screen > Press the “Password” option > default password is 123456 > Press “Network” > Press “IPv4” > write down the ipv4 address.
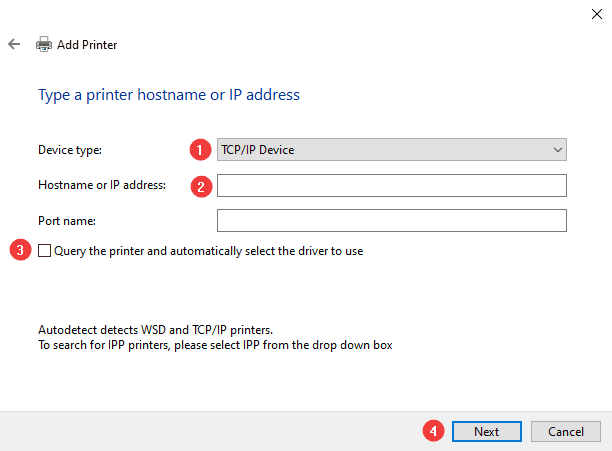
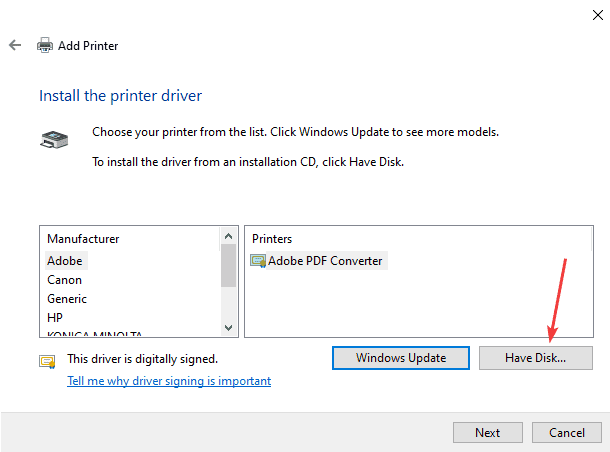
8. Click “Have Disk”.
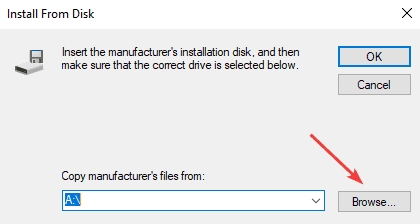
9. Click “Browse”.
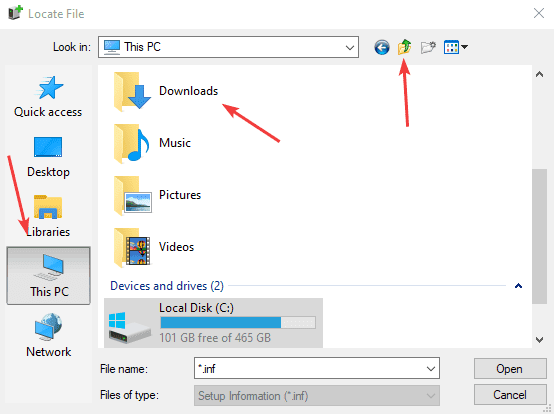
10. If you have a column on the left, click “This PC”, otherwise click the green up arrow until you get to “This PC” in the dropdown menu at the bottom and then open the downloads folder.
11. Find the ebi-Uni folder and open the folders in the following order and then at the end double click to open the file ending in .inf.
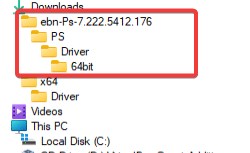
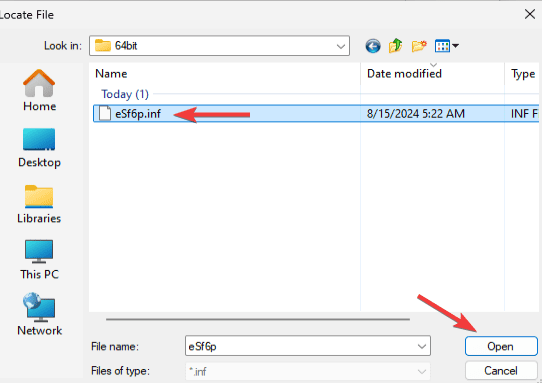
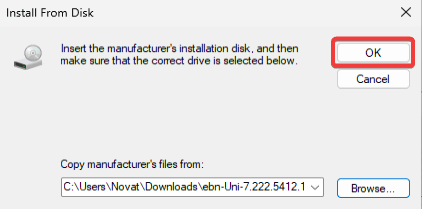
12. Select “OK”.
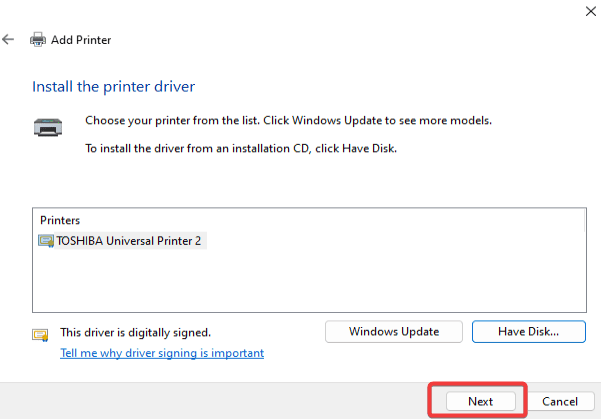
13. Make sure the correct driver is selected and the select “Next”.
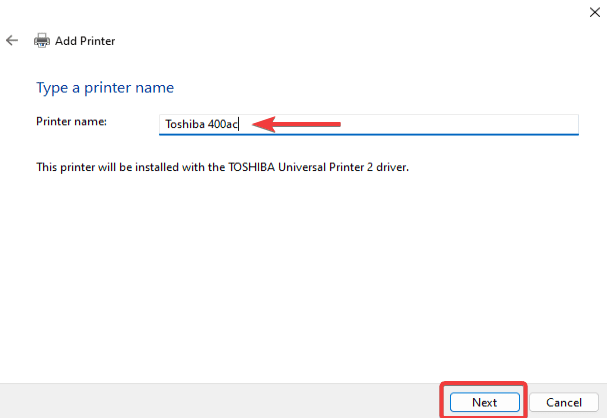
14. Name your device something you will recognize from a list of devices and then select “Next”.
14a. If you get a pop up asking for a username and password you will need admin rights. If you have admin rights input your information or contact your IT department.
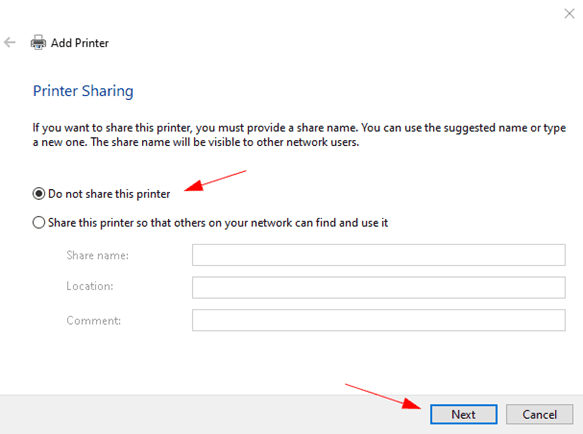
15. Select “Do not share” and then select “Next”.
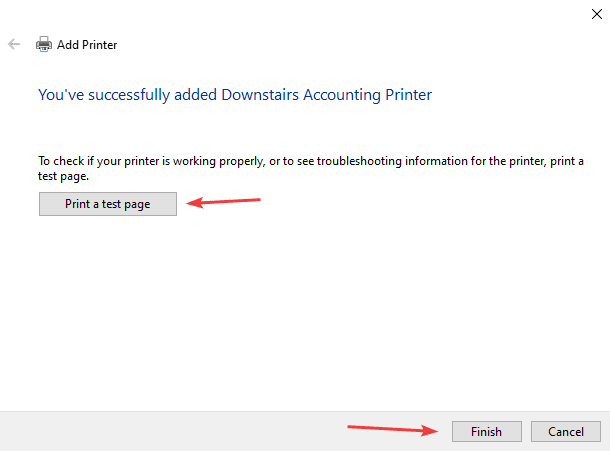
16. You can now print a test page to make sure it is working and then select “Finish”.
