How can we help?
How to Setup Toshiba on a Network
1.From the Control Panel, press “User Functions User”. 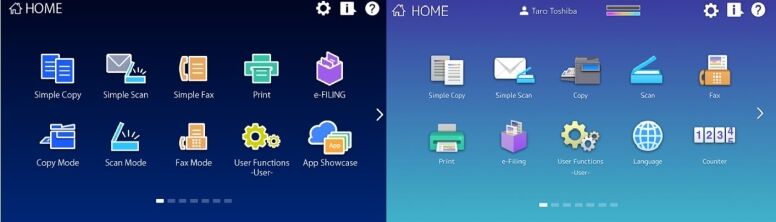
2. Press the Admin tab along the bottom. Login with the default password of 123456. 
3. Touch Network.
4. Touch IPv4.

5. Turn on DHCP and touch Ok. Touch Apply now. The machine should will say Network Initializing. When the message clears touch Continue.

6. From the Control Panel, press “User Functions User”.
7. Press the Admin tab along the bottom. Login with the default password of 123456.
8. Choose List Report
9. Under List Report choose List
10. Choose NIC Configuration Page 
11. This will print out the Network Configuration Page like below. Look for the IP Address field. Keep this report for your Records. 
12. Now you will want to set the machine as Static to maintain the same IPv4 Address. From the Control Panel, press “User Functions User”.

13. Press the Admin tab along the bottom. Login with the default password of 123456.
14. Touch Network.
15. Touch IPv4.
16. Choose Static and touch Ok. Click Apply Now. You will get a Network Initializing message. When it disappears your IP will be set Properly.

17. After this procedure you will need to point your computers print driver to the new IP address. On Mac computers you will need to reinstall the driver using Install a Konica Minolta on Mac guide. On Windows 11 you will use the Search option on your taskbar to open Printers and Scanners. Find your printer and click on it.

18. Choose Printer Properties and go to the Ports tab.


12. Click Add Port. Choose Standard TCP/IP Port and click New Port. It will start a Wizard.


20. Click Next and enter the newly acquired IP address from the MFP. Click Next and continue through the Wizard until you have the option to click Finish.


21. Click the Close button on the Printer Ports box and then click Apply in the lower right corner. Your PC is now pointed to the new IP address.

