How can we help?
-
Canon
-
Sharp
-
Konica Minolta
-
HP
-
Xerox
-
Brother
-
Toshiba
-
Kyocera
-
Client Onboarding
-
NSight
- Articles coming soon
< All Topics
Print
How to Install a Brother Printer on Mac
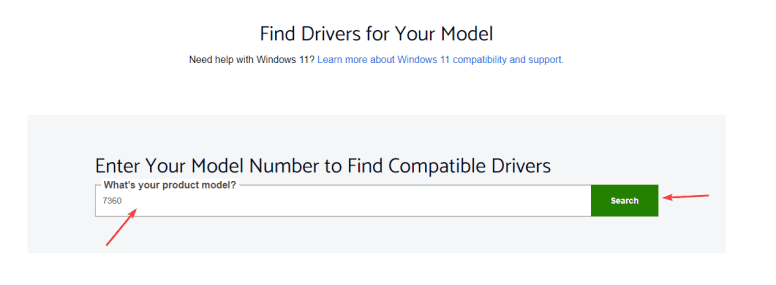
1. Navigate to the Brother support page.
2. Type the model of your printer and then click “Search”.
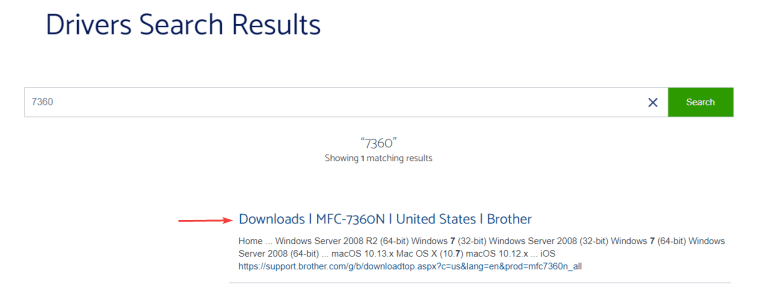
3. Find the result that matches the model of your printer and click the link.
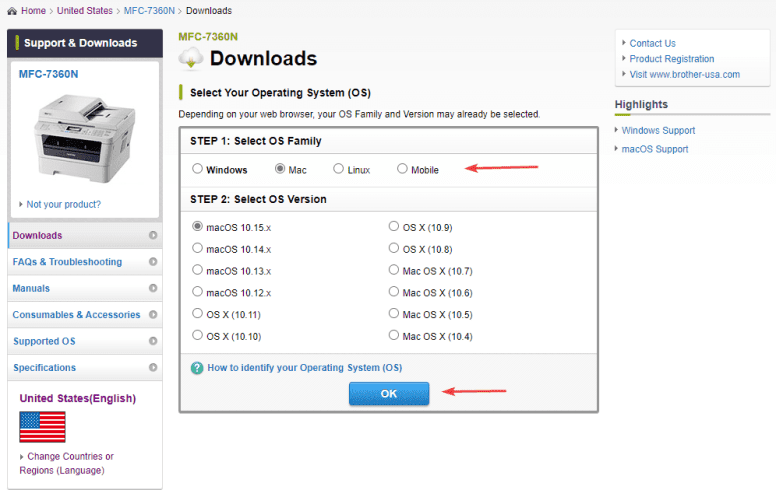
4. Select the correct OS and then click “OK” at the bottom of the window.
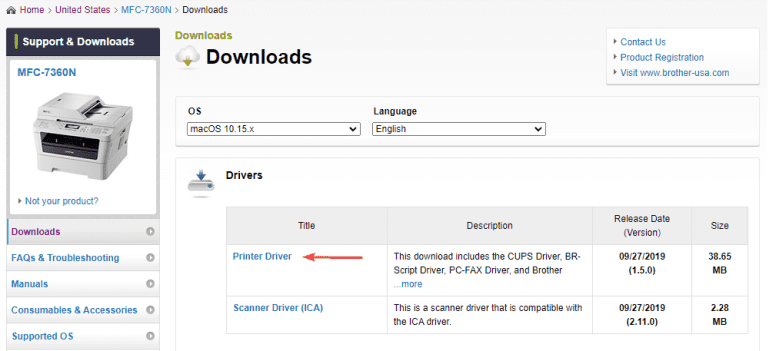
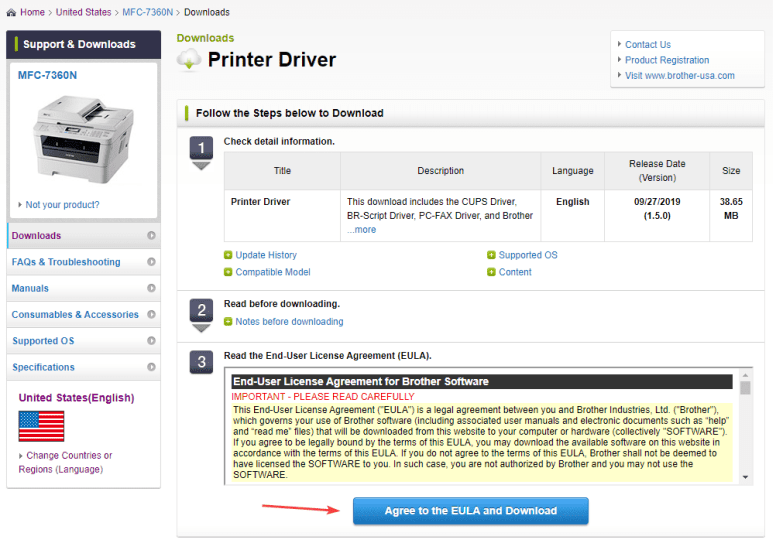
5. Click the “Print Driver” link under the “Drivers section and then click the “Agree to EULA and download” button.
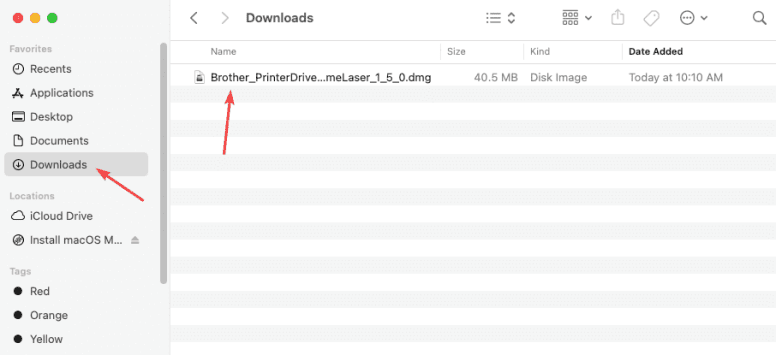
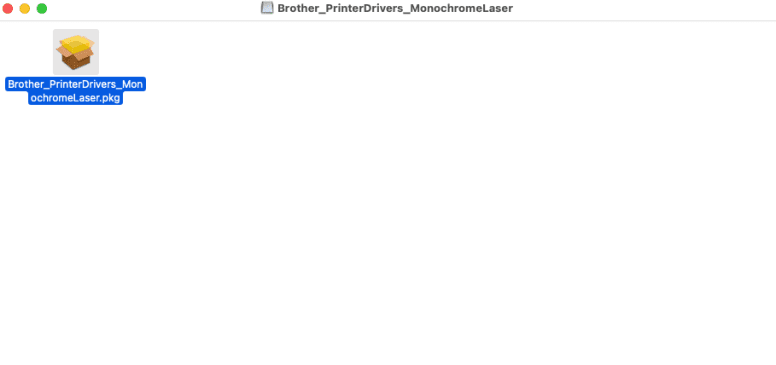
5. Open the “Finder” application and navigate to the “Downloads” folder. Find the Brother file and double-click to open it. You will get another window open with a new file, double click the file to run the application.
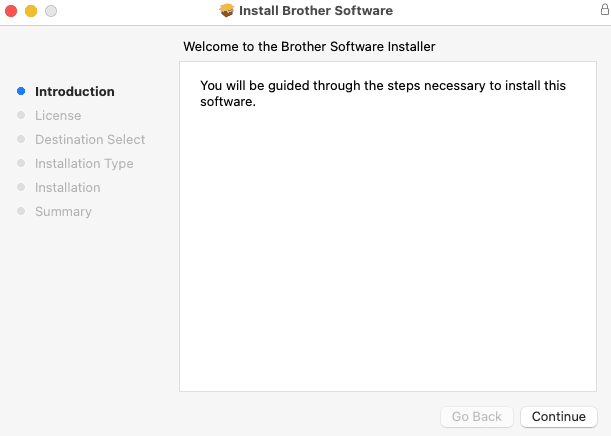
6. Click through the installation until you get to the end. Once you click “Close”, it will ask you to allow the “Installer” to access the “Downloads” folder, click “OK” and move the file to the trash.
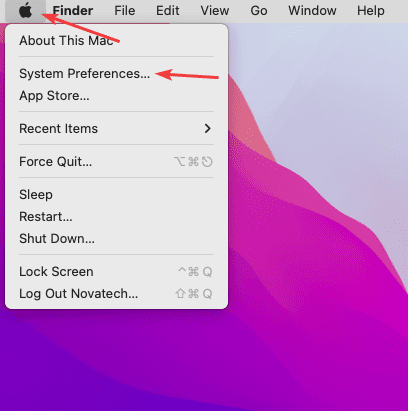
7. Click the “Apple” icon in the top left and open “System Preferences”.
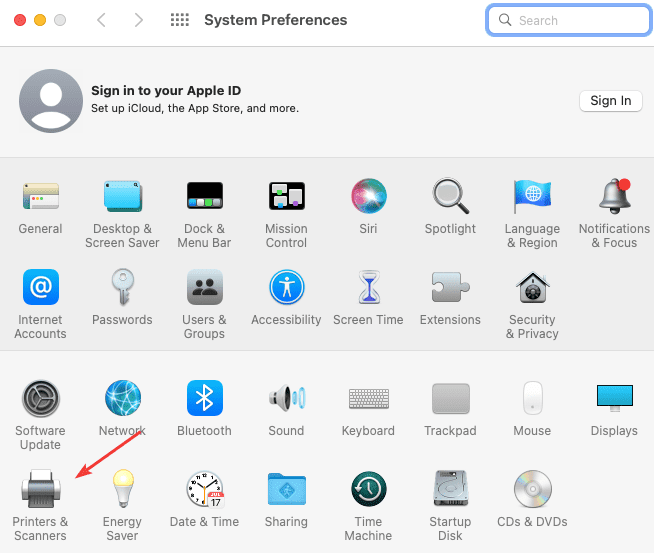
8. Double-click “Printers & Scanners”.
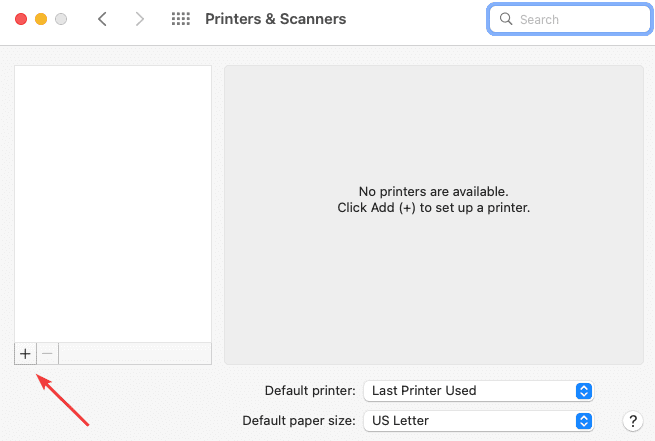
9. Click the “+” icon at the bottom left of the screen.
10. Follow the steps below:
10a. Type the IP address of the Copier. If you need help finding the IP address, follow our Find IP Address Guide
10b. Drop the “Protocol” down to “Line Printer Daemon -LPD”.
10c. Give the printer a name you will recognize.
10d. Click the drop-down and choose “Select Software”.
10e. Type the model of your printer in the search bar.
10f. Select it from the list and click “OK”
10g. Click “Add”.
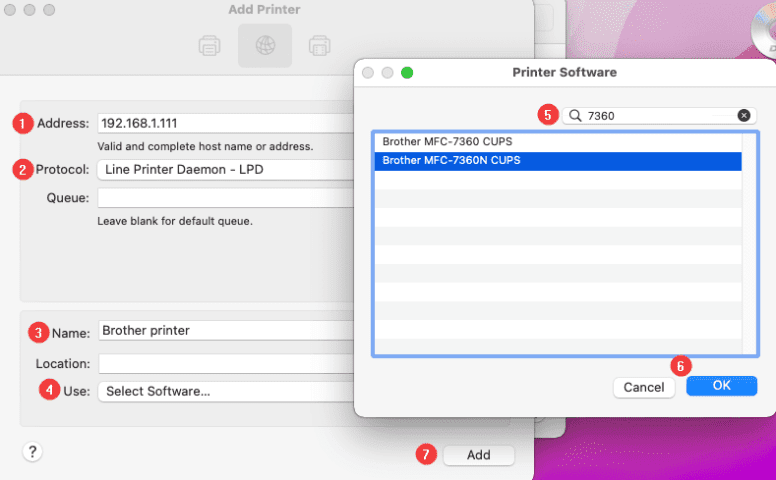
Table of Contents