How can we help?
-
Canon
-
Sharp
-
Konica Minolta
-
HP
-
Xerox
-
Brother
-
Toshiba
-
Kyocera
-
Client Onboarding
-
NSight
- Articles coming soon
< All Topics
Print
How to Setup a Canon Department ID on Windows
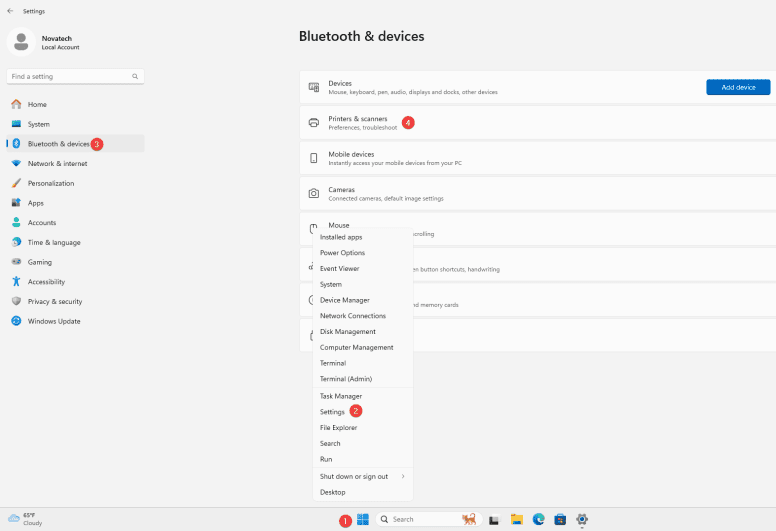
1. Right Click the Windows icon in the task bar and then select “Settings”. On the left select “Bluetooth & devices” and then select “Printers & scanners”.
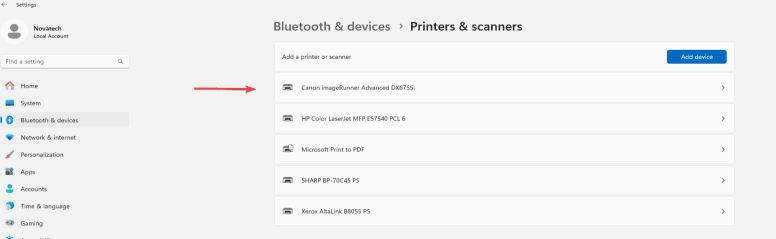
2. Select your printer from the list and then select “Printer Properties”.

3. Follow the steps below:
3a. Click the “Device Settings” tab at the top.
3b. Click the dropdown and select “Department ID Management”
3c. Click “Settings”.
3d. Check this box if you set up a pin as well as the “Department ID”.
3e. Input the “Department ID” and “Pin” if you set up a pin.
4. If you want a pop-up with the code each time you print, leave this checked, otherwise uncheck and you will not get a pop-up each time you print.
5. You can use this option if you want the users to have to physically go to the copier and input their code to release the job.
6. Once you are finished, click “OK” and then “OK” again on the “Properties” window.

Table of Contents