How can we help?
How to Setup Scan to Email on Xerox
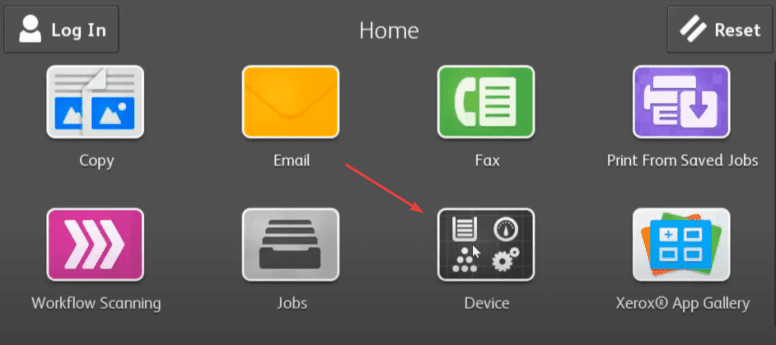
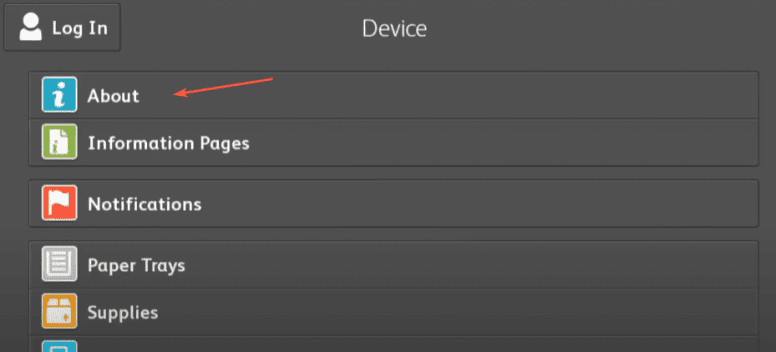
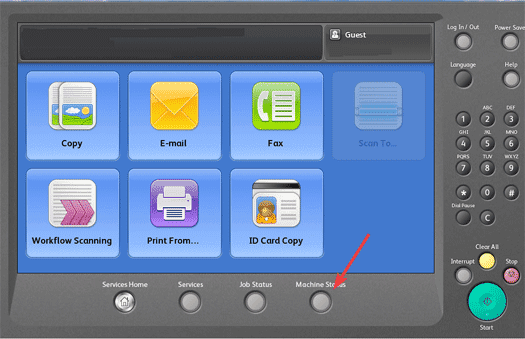
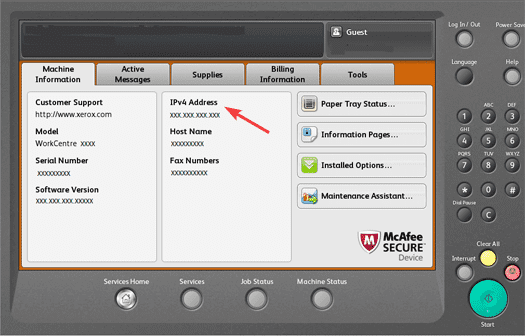
1. Start by getting the IP address of the copier. You can access the IP address by pressing the “Machine Status” button or, on other models, the “Device” option on the main menu and then “About”.
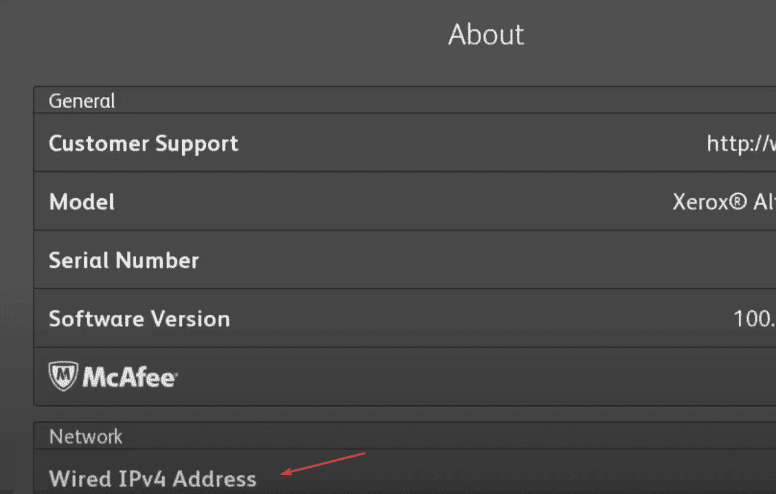
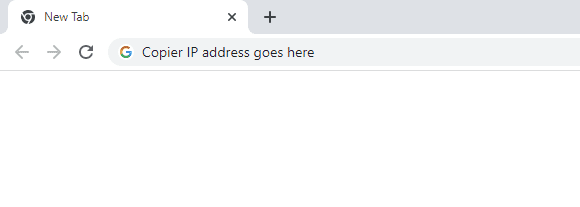
2. Go to your computer and open a new tab on your web browser and type the IP address into the address bar at the top and then hit enter.
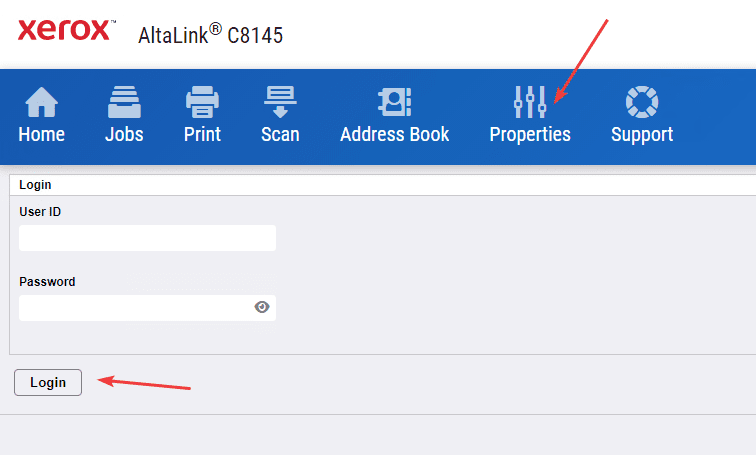
3. Click the “Properties” tab and then log in.
3a. The default login is “admin” for the username and “1111” for the password. On some models, you may need to use the serial number for the password, which can be located on the back of the copier.
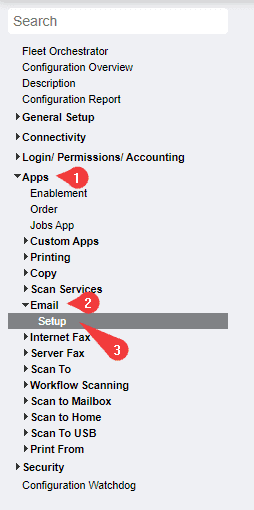
4. Click “Apps” in the left column and then click “Email” and then “Setup”.
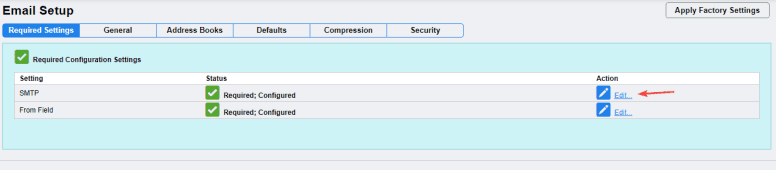
5. Under the “Required Settings” tab, click the “Edit” option for the “SMTP” setting.

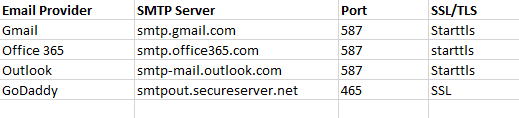
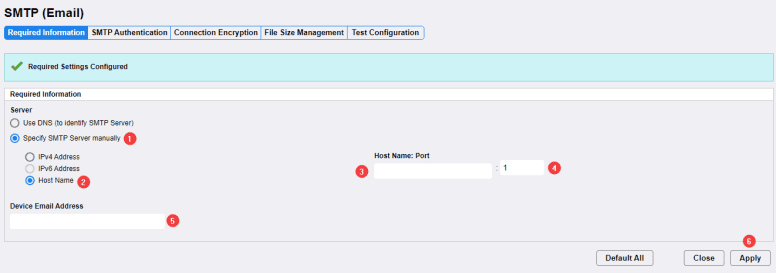
6. Select the option “Specify SMTP Server Manually” and then select “Hostname” fill out the server’s hostname and port and then type the email address you would like to use and then click “Apply”. If you don’t know the hostname and port, you can reference the chart below or reach out to your IT department.
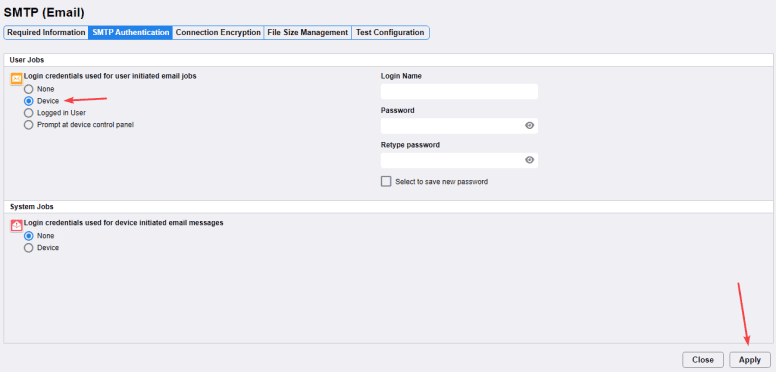
7. Click the “SMTP Authentication” tab. If your server requires authentication, click the “Device” option under the “User Jobs” section and input the email address and password and then click “Apply”.
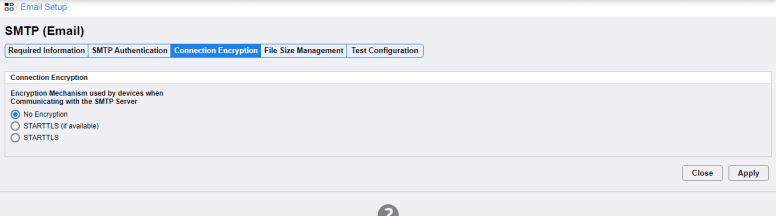
8. Click the “Connection Encryption” tab. If your server requires encryption, choose the option below and then click “Apply” and then click “Close”. If you don’t have this information, you can reference the chart above or contact your IT department.
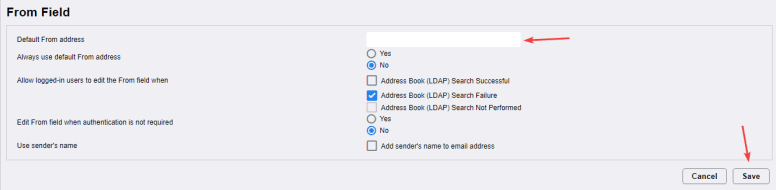
9. Click the “Edit” option next to the “From Field” section.

10. Make sure the email address that you want to use is in the “Default From address” and then select the options you want below and click “Save” when finished.
11. If you want to test the scanning feature on the webpage, click “Edit” next to “SMTP” and then click the “Test Configuration” tab, input an email address, and click “Send Email”. You can also test it from the panel on the physical machine.