How can we help?
How to Setup Job Accounting on HP
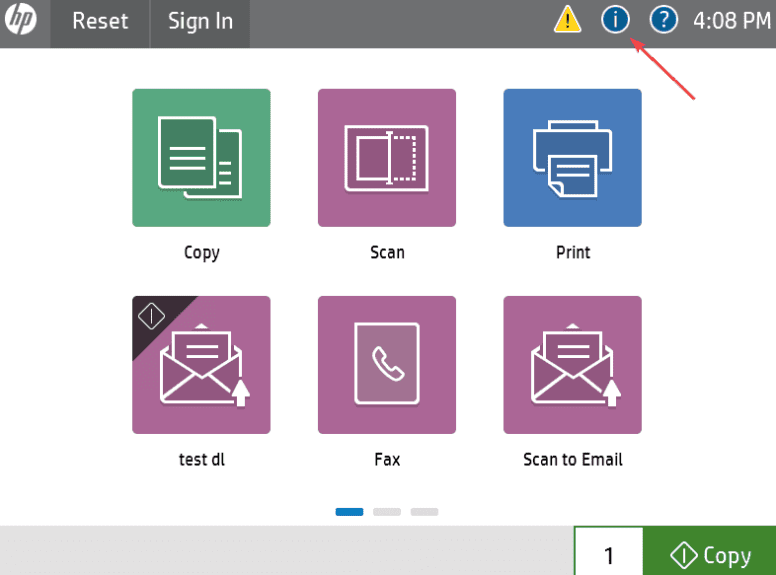
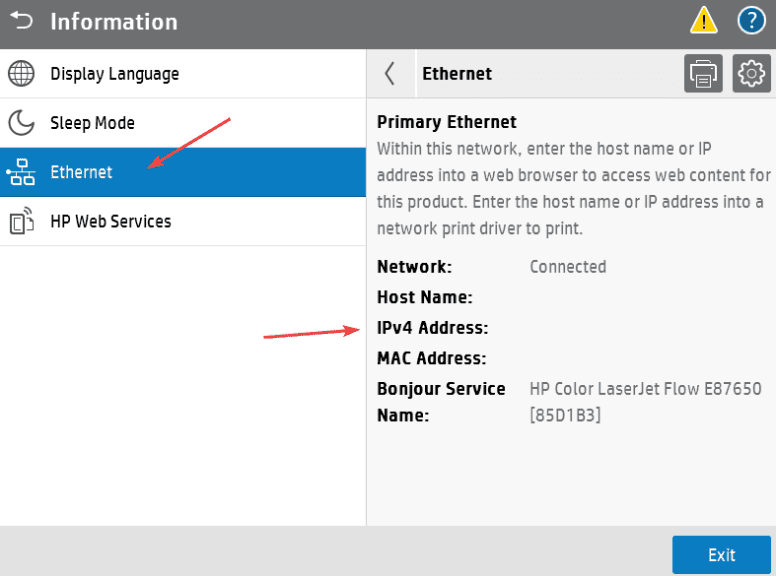
1. Go to the copier and press the blue “i” icon at the top of the screen and then press “Ethernet” and find the IP address on the right.
2. Take the IP address you got from the copier and type it into a new browser tab in the address bar and hit enter.

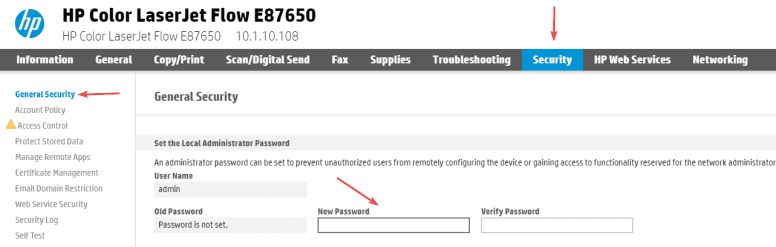
3. Click the “Security” tab and then click “General Security” and make sure there is a password set for the “Local Administrator”. If there is no password set, then create one and click “Apply” at the bottom.
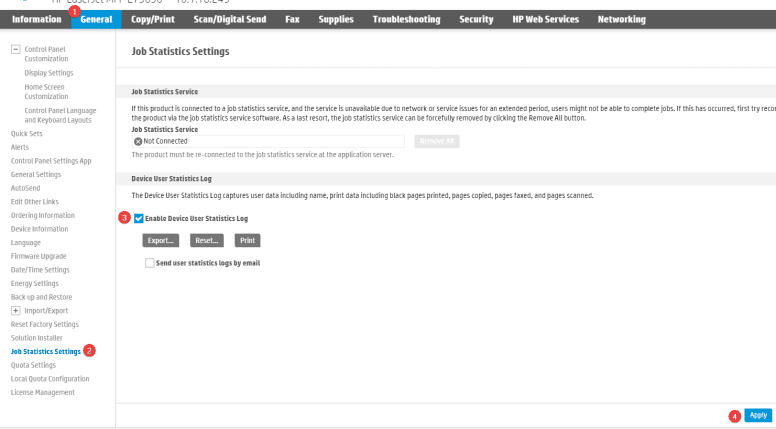
4. Click the “General” tab and click the “Job Statistics Settings” check the box labeled “Enable Device User Statistics Log” and then click “Apply” at the bottom.
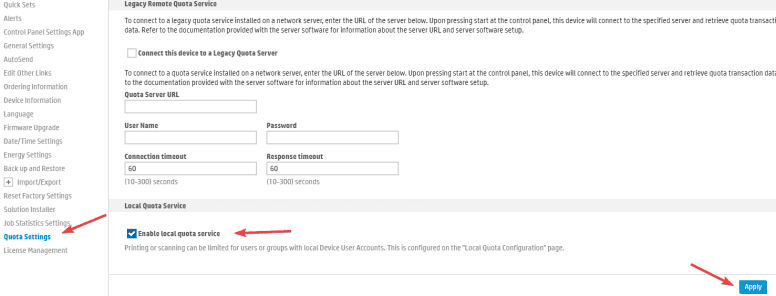
5. Under the “General” tab, click “Quota Settings” then check the box labeled “Enable local quota service” and then click “Apply” at the bottom.
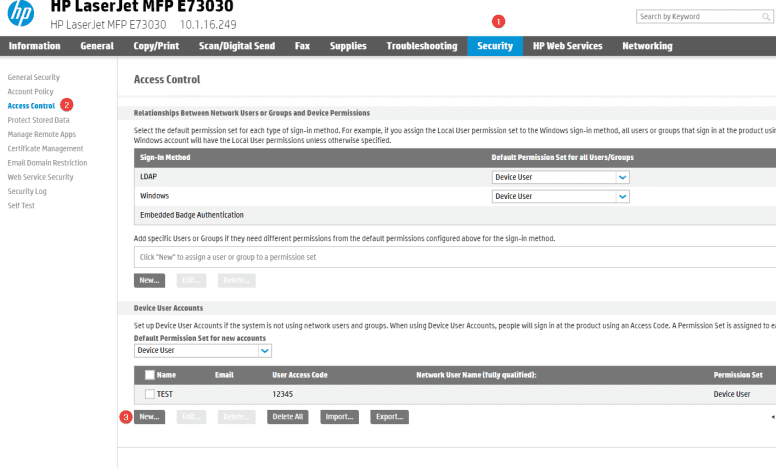
6. Click the “Security” tab and then click “Access Control”, scroll to the bottom and click “New” under the “Device User Accounts” section.
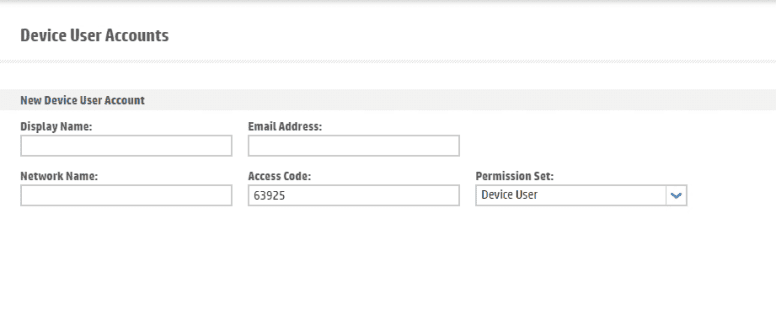
7. Input the name and then give the user a code or you can keep the code it put in the field. You can leave the email and network name blank. Keep the permissions set as device user. Click “OK” at the bottom.
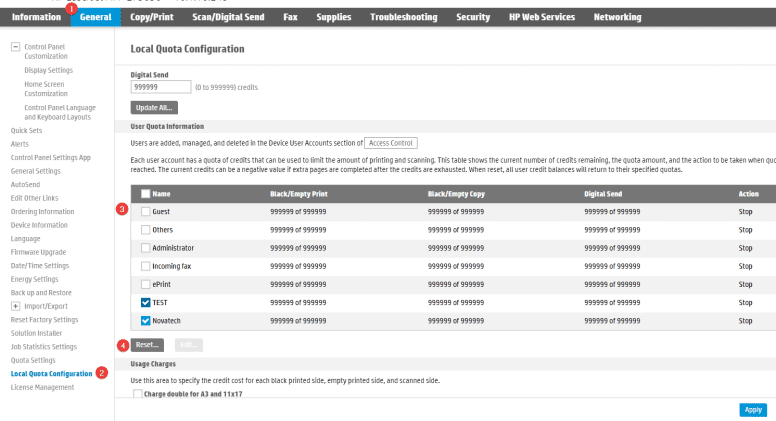
8. Go back to the “General” tab and on the left select “Local Quota Configuration”. Scroll to the bottom and select all the accounts with the check box and press the “Reset” option. .
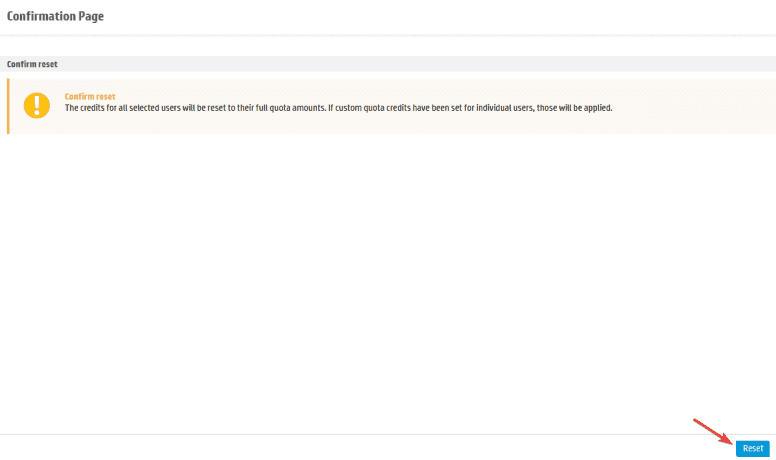
9. Confirm that you want to reset the credits for the selected users.
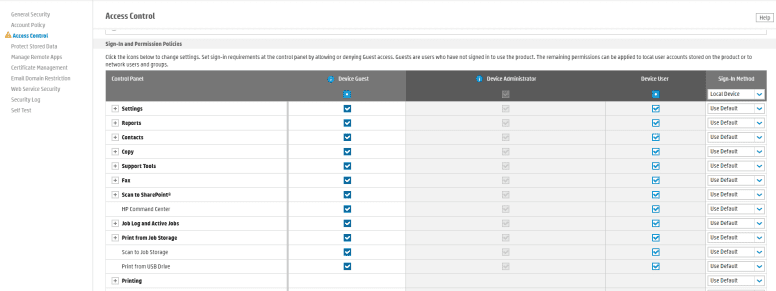
10. If you want to configure what settings the users can access, you can scroll up to the “Sign-In and Permission Policies” and set permissions for “Guests” and “Users”. “Sign-in Method” should be “Local Device”. Once you set the options you want, click “Apply” at the bottom.